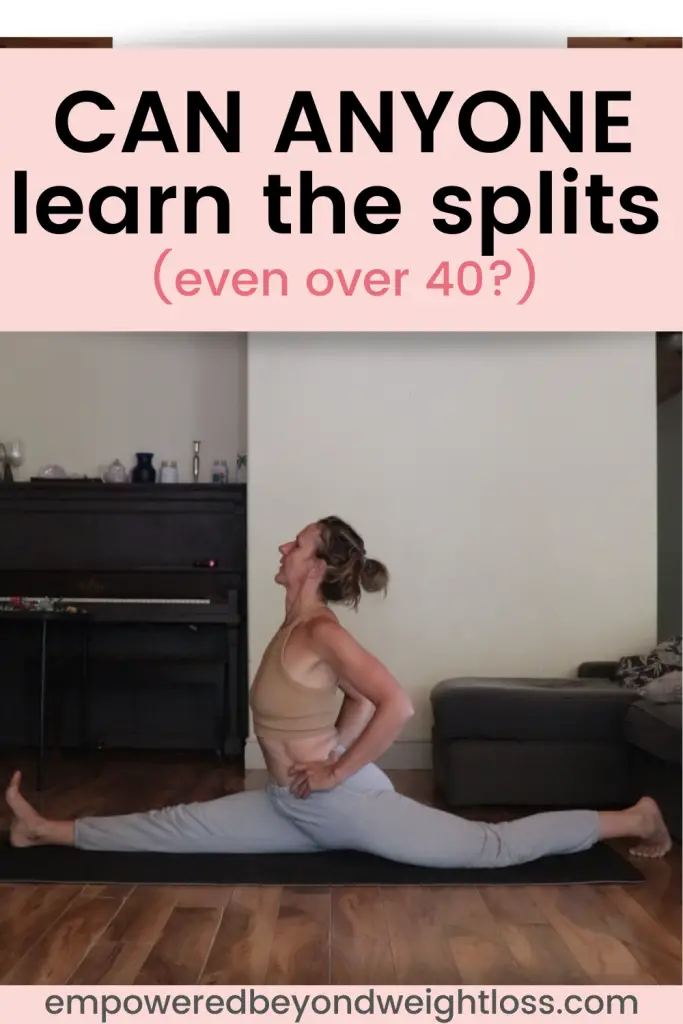
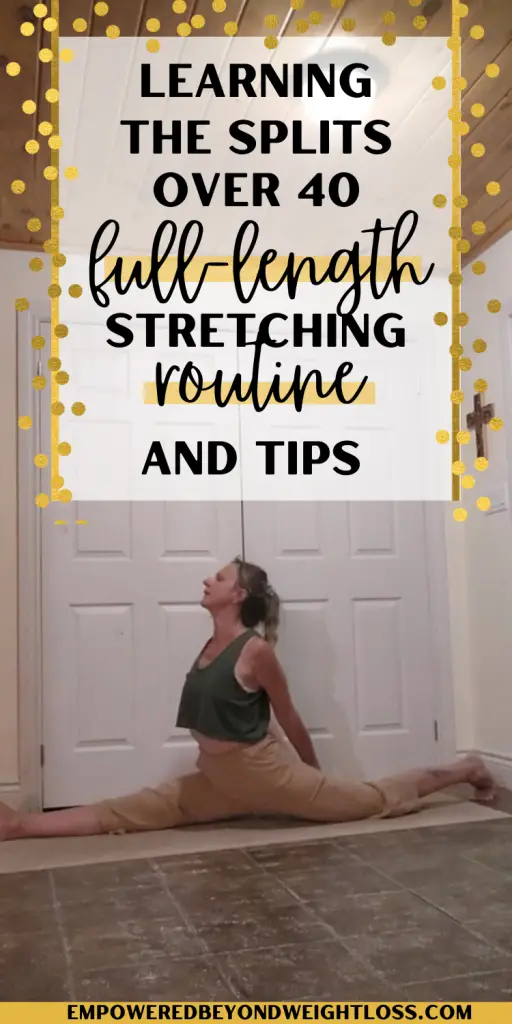
Learning the splits over 40 was one of the most rewarding things I have done. Not only did stretching daily for the splits take entirely away back pain, but getting flexible enabled me to enjoy my workouts like never before.
Learning the Splits Over 40: My Journey
So you want to learn to do the splits over 40? I figured it would be helpful to share my experience to give you an idea of how it might go for you. Just remember that everyone is different. Progress will vary, and you may learn tidbits of information that don’t match my experience.
I wanted to learn the splits because I watched yogis online doing press handstands and such and thought: This is so cool! I want to do this! Everyone will have a different reason for wanting to do the splits. But honestly, it was just because I thought it would be a fun challenge. What is your reason? Do you need some help to get motivated? Keep reading, and I will share some compelling benefits you will experience from learning the splits.
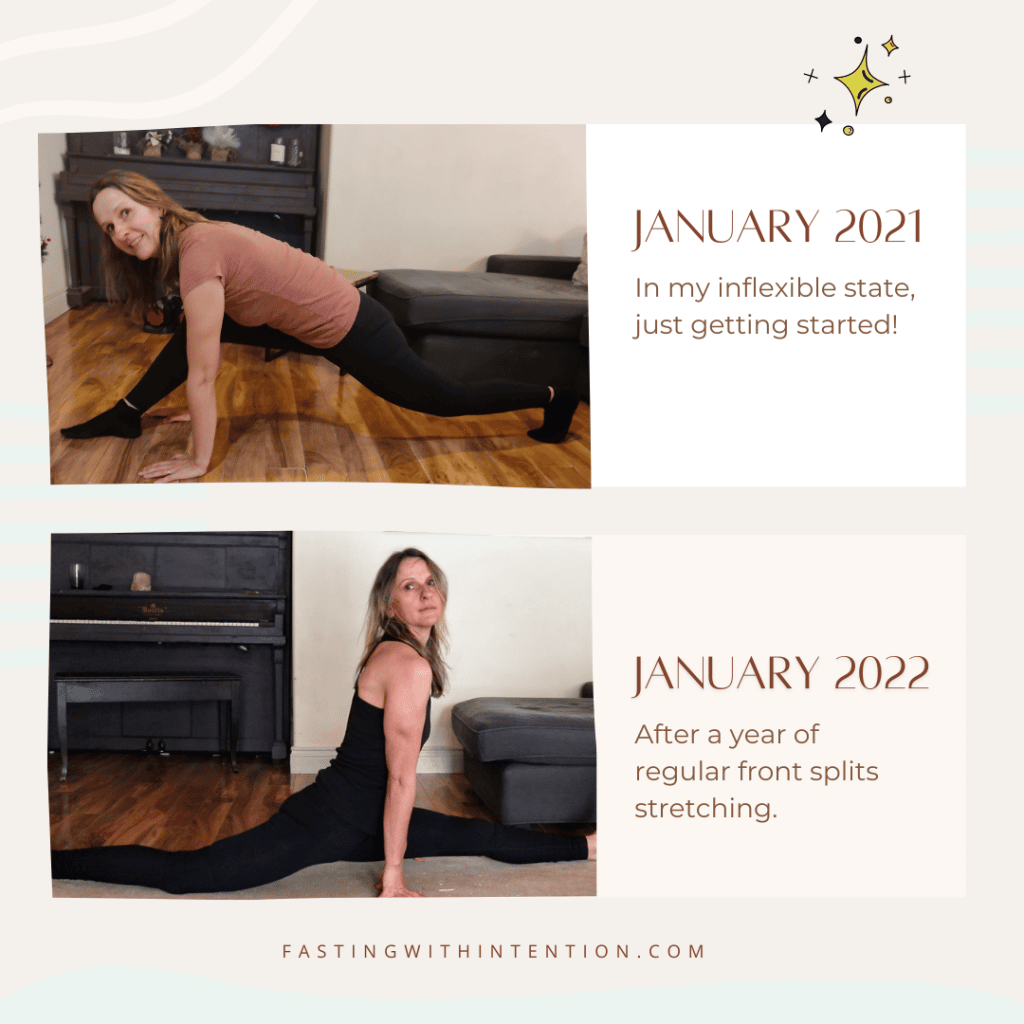
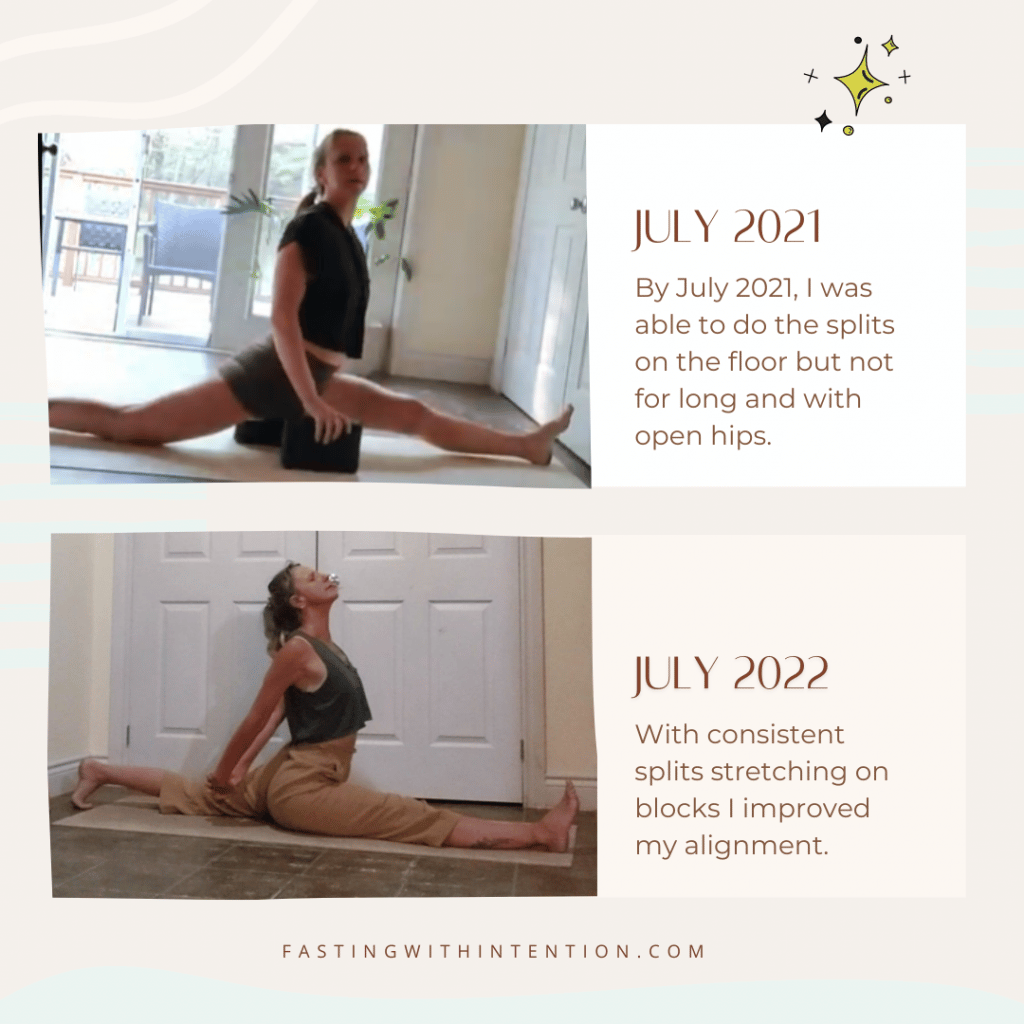
What Didn’t Work
The first thing I did when I started was purchase a flexibility training program. I didn’t want to be searching online for random splits videos; I wanted a step-by-step approach. I quickly learned that my total lack of flexibility prevented me from following some flexibility routines.
The program seemed interesting because it had a mobility focus. We all know that mobility is essential, right? The issue is that mobility training will either increase both your strength and flexibility or neither your strength and flexibility. I was part of the mobility-training-improves-neither-your-strength-nor-flexibility-group. Why? Because I couldn’t follow along! I was so stiff! Beware: Many splits routines include lots of active stretching and don’t hold the stretches long enough for older adults who are inflexible to see progress.
What Worked
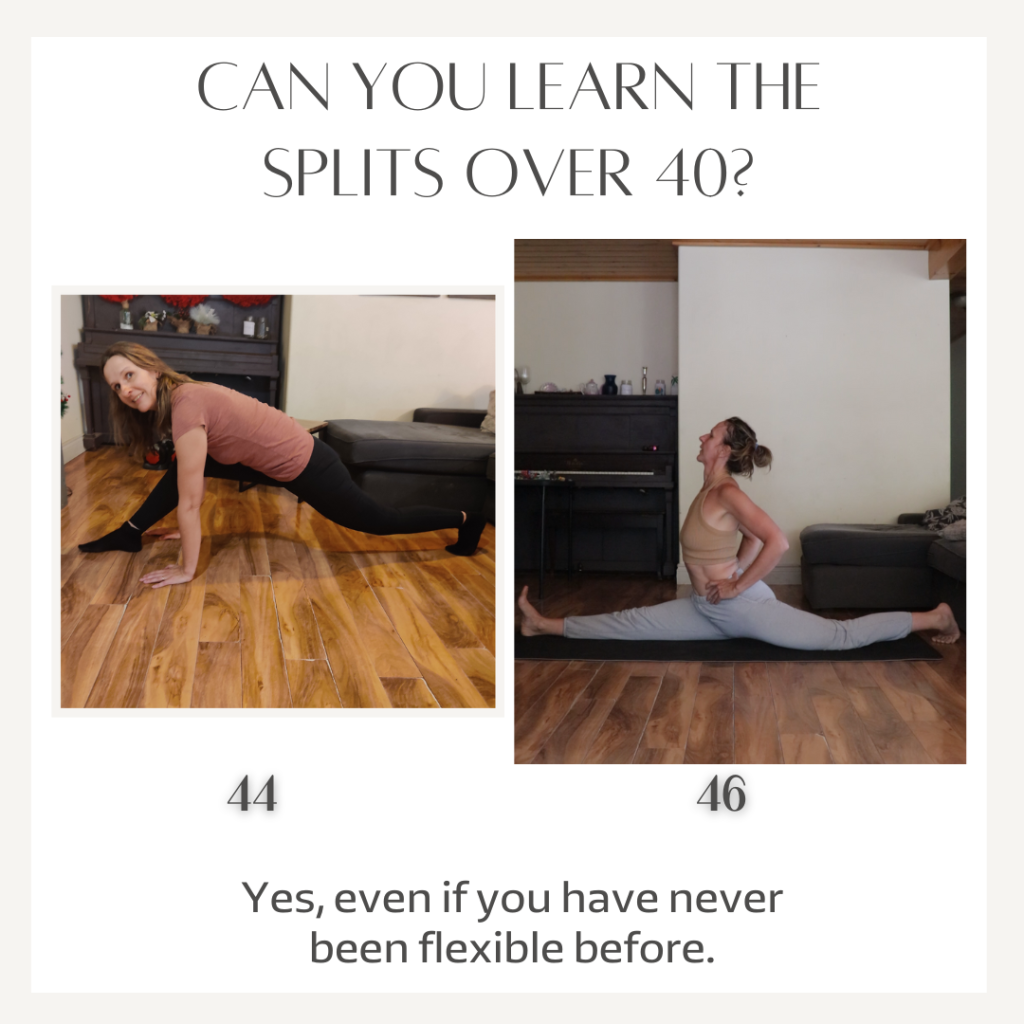
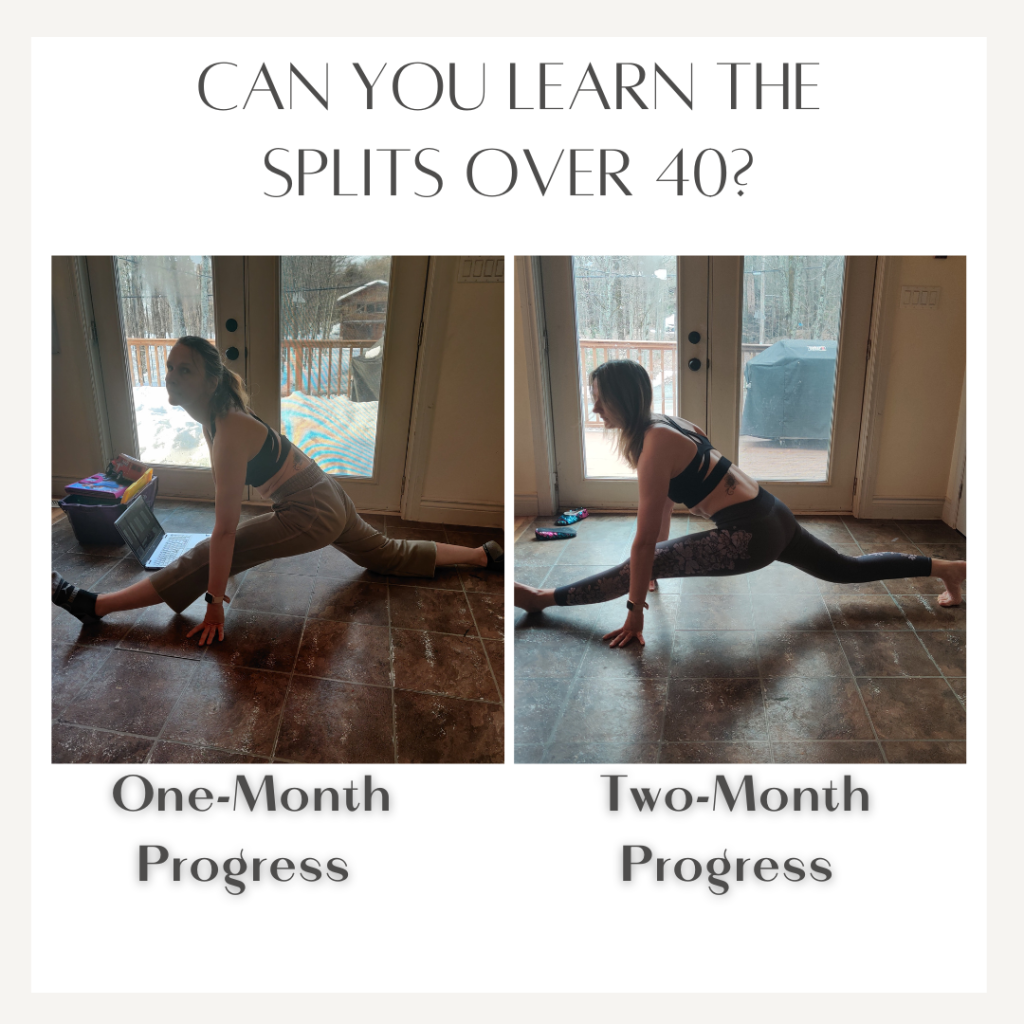
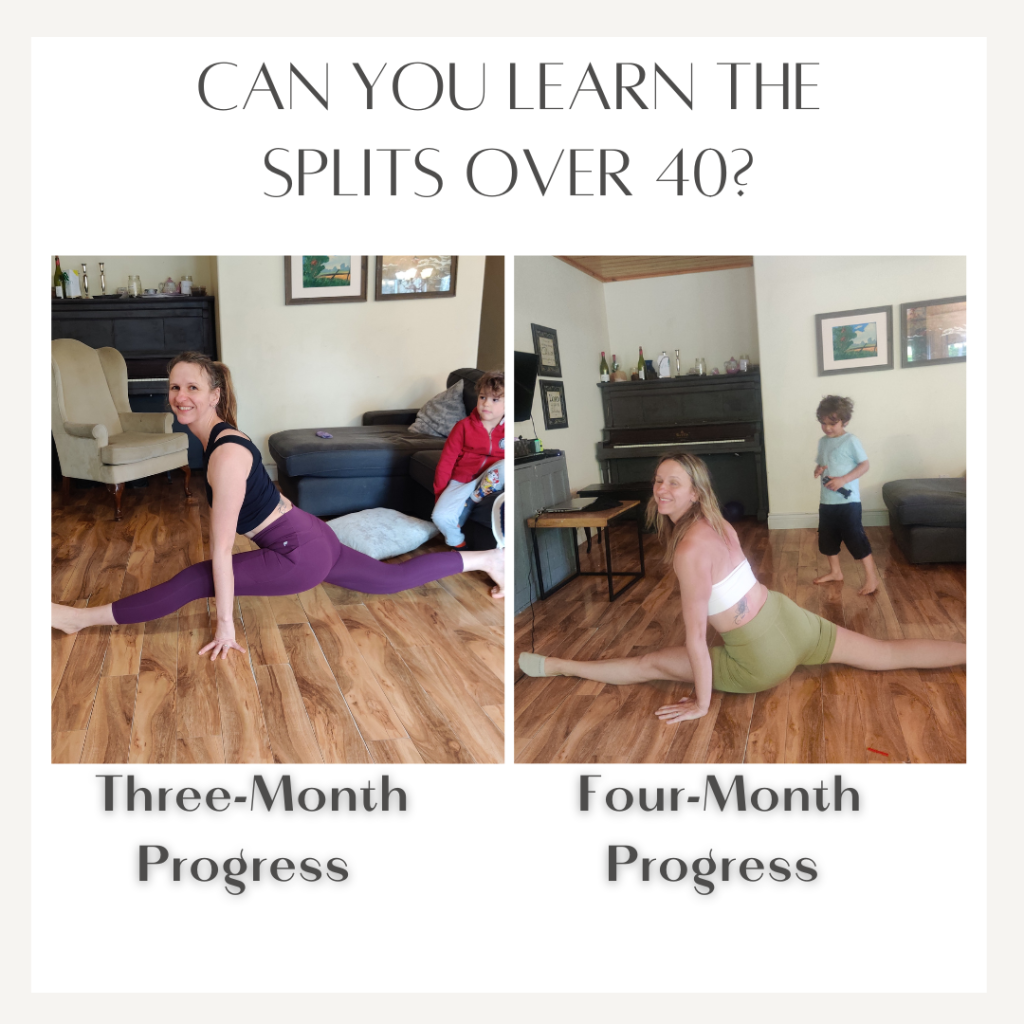
I kept experimenting with different stretches and routines, and I discovered that what worked was short routines (about 15 minutes long) that focused on a few simple stretches but held them longer (at least a minute and, with time, even 2 minutes). It took me about six months to get from being utterly stiff to being able to sit in the front splits once I figured out what worked. I recommend reading 1-Year Yoga Transformation: Before and After Pictures to learn more about my journey.
Learning the Splits Over 40 Step-By-Step
This step-by-step approach will be a great starting point for anyone learning the splits over 40.
1. Pick Your Stretches
I mentioned that what worked for me was picking a few simple stretches and holding them for at least a minute or two. Here are some examples of front-split stretches that are most effective:
- Pyramid Pose:
- Stand with your feet hip-width apart.
- Take a step back with one foot, about 3-4 feet, keeping your toes pointing forward.
- Square your hips towards the front leg.
- Inhale, engage your core and lengthen your spine.
- Exhale, hinge at your hips, and fold forward over your front leg.
- Keep your back straight, and reach your hands toward the floor or front shin.
- Feel the stretch along the back of your front leg and your hamstrings.
- Half Splits:
- Start in a low lunge position with one foot forward and the other back.
- Shift your weight back slightly onto your back foot.
- Straighten your front leg while flexing your toes towards your face.
- Keep your hips square and slowly lower your torso toward your extended leg.
- Reach your hands toward your toes or rest them on your shin.
- Feel the stretch along the back of your extended leg.
- Low Lunge:
- Begin in a lunge position with one foot forward and the other extended back.
- Keep your front knee directly above your ankle and your back leg extended with the top of your foot on the ground.
- Sink your hips down and forward, stretching your hip flexors.
- You can place your hands on your front thigh for support or reach your arms overhead for an additional stretch.
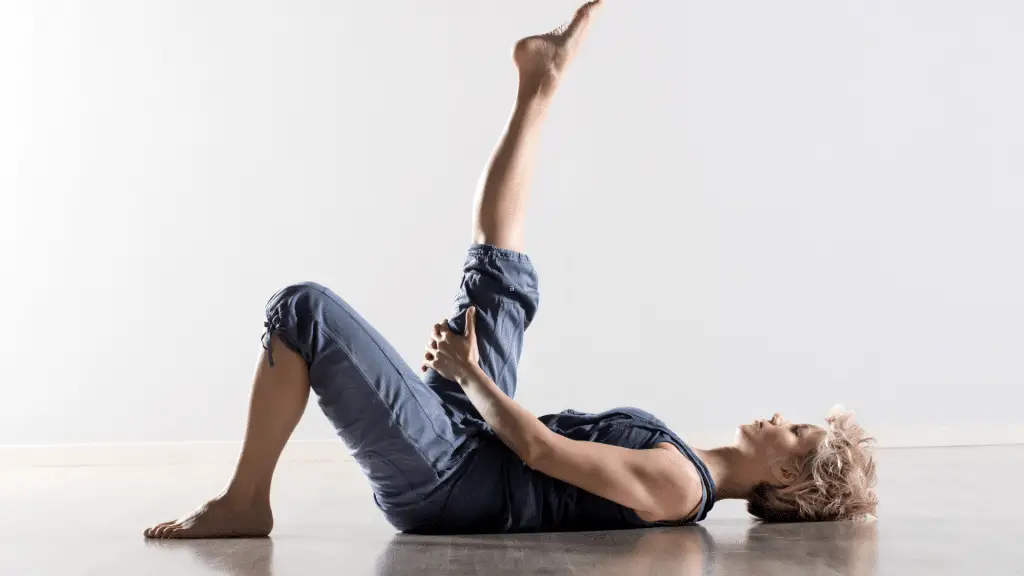
- Reclining Hamstring Stretch:
- Lie on your back with both legs extended.
- Bend one knee and bring it towards your chest.
- Place a yoga strap or a towel around the arch of your foot and hold the ends with your hands.
- Extend your leg upward while keeping it straight, using the strap or towel to assist.
- Keep your other leg extended along the ground.
- Feel the stretch along the back of your thigh (hamstring).
- Forward Fold:
- Stand with your feet hip-width apart.
- Inhale, reach your arms overhead.
- Exhale, hinge at your hips and fold forward.
- Keep your back straight as long as possible.
- Let your hands hang towards the floor or reach for your shins, ankles, or toes.
- Relax your neck and breathe deeply as you feel the stretch in your hamstrings and lower back.
- Seated Forward Bend:
- Sit with your legs extended in front of you, toes pointing up.
- Inhale, lengthen your spine.
- Exhale, hinge at your hips, and bend forward.
- Keep your back straight as you reach for your feet or shins.
- If you can’t reach your feet, use a yoga strap or towel around your feet to assist in the stretch.
- Feel the stretch in your hamstrings and lower back.
You may also enjoy How to Increase Your Flexibility for the Splits, How to Stretch to Do the Splits, and How to Do the Splits: Best Tips and Follow-Along Videos (these posts all include follow-along videos).
Or try today’s splits stretching routine, which is one of my favorite ways to stretch to this day! Also, this article explains how PNF stretching works. I didn’t use PNF during my getting-the-splits months, but I occasionally use it now.
2. Hold Your Stretches Consistently
Aside from holding your stretches for a minute or two, you have to ensure you stretch almost daily. Consistency is key! Not only does consistency enable you to see progress, but whenever you try to create a new habit, you must avoid skipping more than one day in a row. The more days you skip, the easier it becomes to give up on your goal.
Need more help to create habits that serve, particularly a yoga habit? Consider signing up for my 5-Day Yoga Habit Challenge.
3. Keep Track Of Your Progress
Keeping track of your progress can be a powerful motivator. I recommend taking monthly pictures and/or videos. To this day, I still find this to be the best way to stay motivated. I am constantly picking new goals and tracking my progress. Read How to Stick to a Workout Routine: 2 Life-Changing Tips! for additional help and tips to stick to your stretching routine. I also created an ebook entitled How to Become a Stretching Addict Even If You Used to Skip Stretching at the End of Your Workouts. You can purchase the ebook on my Resources Page or get it as part of my Full-Body Flexibility Transformation Program.

4. Start Including Strength and Mobility Exercises
Once you can sit on the floor in the front splits (even if you need to open your hips (we will talk more about that in the next step), start including more strength and mobility into your routines.
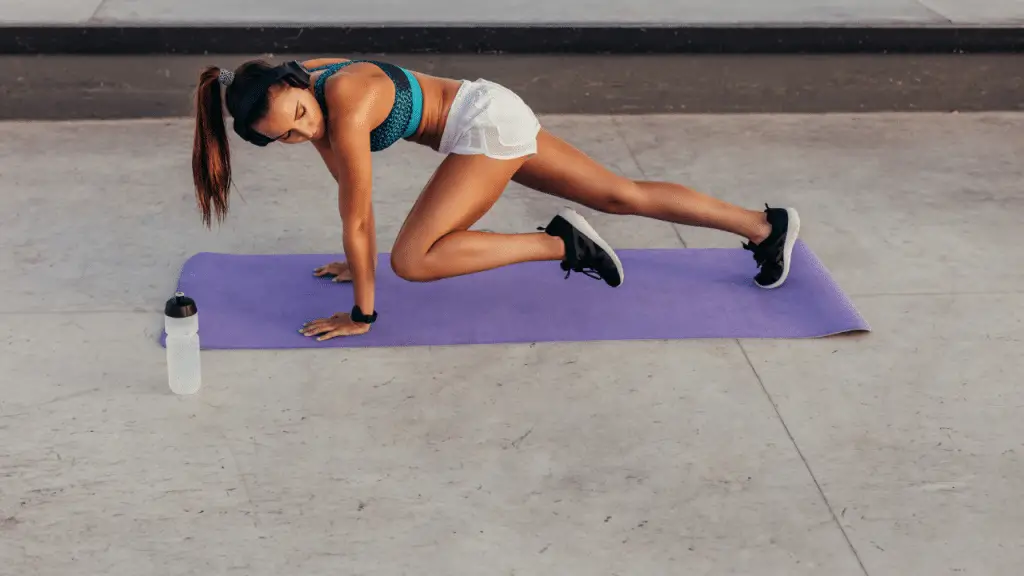
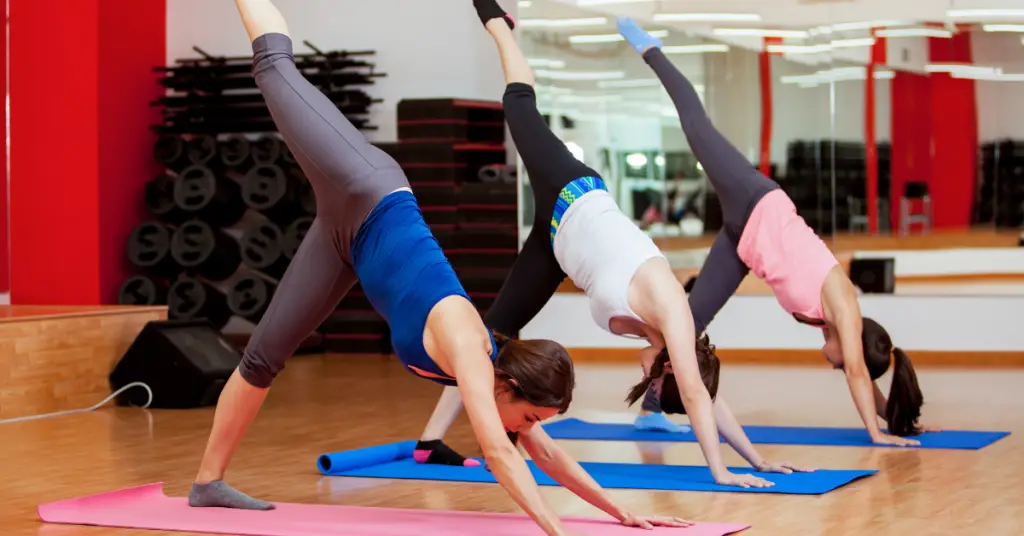
You can include separate strength exercises into your protocol from the beginning, but I am talking about preparing for the splits more actively whenever you train, for example, with the standing splits and the pistol squat. That’s in phase 4 of my Full-Body Transformation Program, but if you want to know what I am talking about, check out my Side Plank Splits Fow.
5. Improve Your Form
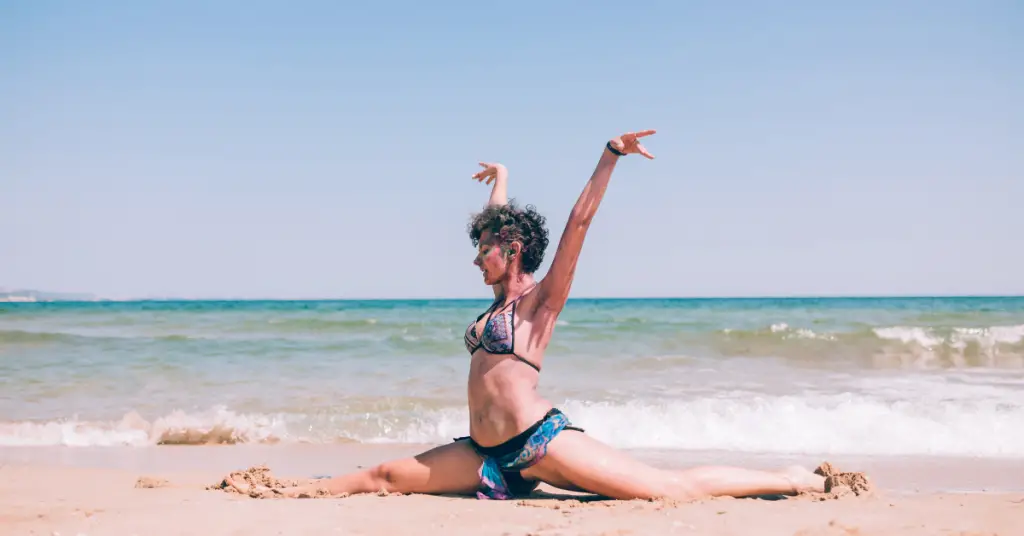
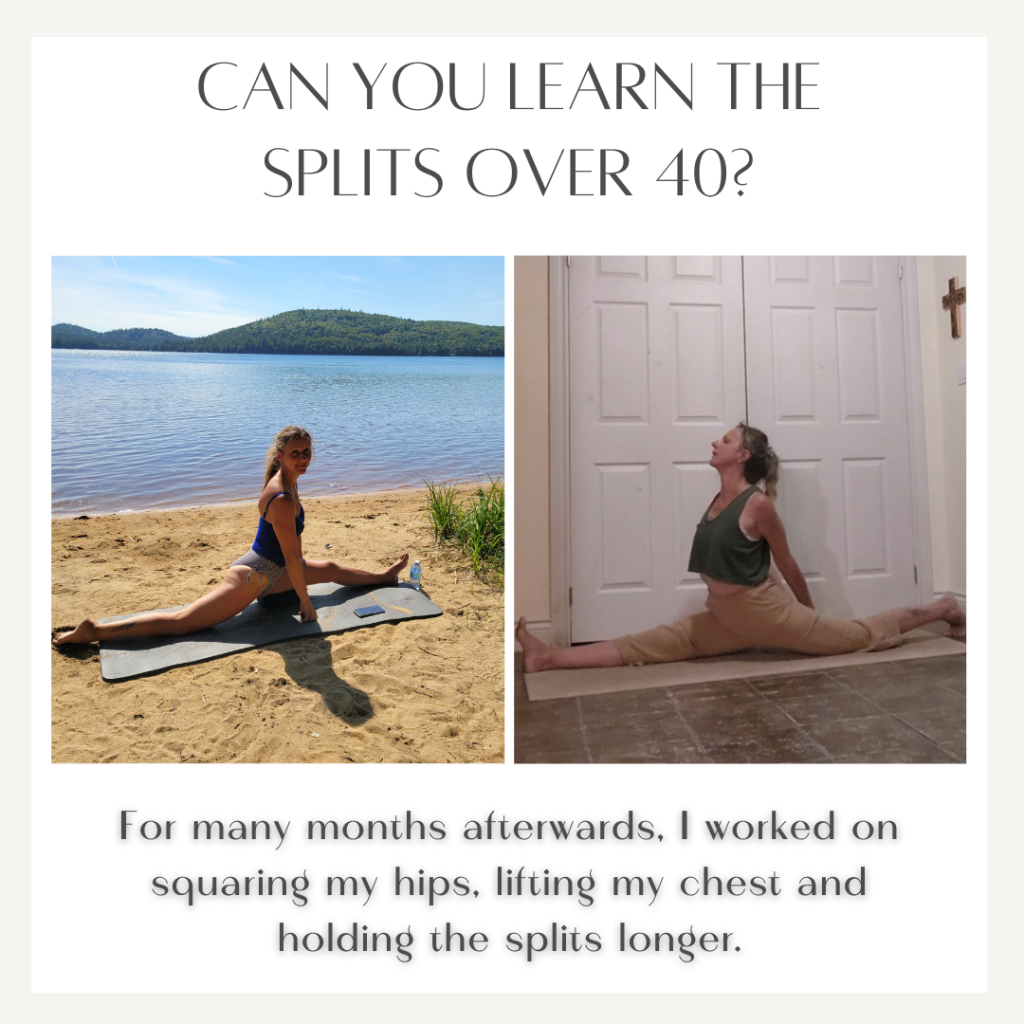
You may notice that whenever I cue the pyramid pose or the half splits, I talk about squaring your hips. This means that you are ensuring that your hips are facing forward. Whenever stretching for the splits, your body will try to compensate for the lack of flexibility by opening at the hips. After getting your splits by opening your hips (whether slightly or quite a lot), it may take months to get your splits with squared hips. Another important cue is to lift your split and open your heart. Moving the chest closer to the thighs makes it easier for beginners to get in the splits, but in yoga, the splits are heart-lifting. You can even lift your arms as you open your chest. It helps keep your legs active as you square your hips.
Can Anyone Learn the Splits?
Yes, with consistent practice and dedication, most people can learn to do the splits or significantly improve their flexibility. However, it’s important to note that the time it takes to achieve the splits can vary widely from person to person depending on various factors, including:
- Individual Flexibility: Some people are naturally more flexible than others, making it easier to progress in stretching exercises like the splits.
- Age: Generally, younger individuals tend to be more flexible than older individuals. That said, people of all ages can work on improving their flexibility.
- Current Fitness Level: Your overall fitness level and previous experience with stretching exercises can impact how quickly you progress.
- Consistency: Consistent practice is key to making progress in flexibility. You’ll likely need to stretch regularly over an extended period to achieve the splits.
- Stretching Technique: Using proper stretching techniques and gradually increasing the intensity of your stretches can help prevent injury and promote progress
- Individual Anatomical Variations: Some people may have anatomical variations in their hip joint structure, making achieving full splits more challenging. However, most people can still make significant improvements in their flexibility.
Follow the steps in this post, and you will be successful!

Benefits of Learning the Splits
I promised I would provide even more motivation for learning the splits over 40.
Learning to do the splits offers several physical and mental benefits:
- Improved Flexibility: Achieving the splits is a clear indicator of increased flexibility. Regularly practicing split stretches helps lengthen and loosen your legs, hips, and lower back muscles.
- Increased Range of Motion: Splits training can improve your overall range of motion, making performing various physical activities and exercises easier.
- Enhanced Athletic Performance: Greater flexibility and range of motion can enhance your performance in various sports and physical activities, including dance, gymnastics, martial arts, and yoga.
- Injury Prevention: Improved flexibility can reduce the risk of muscle strains and injuries, particularly in the legs and lower back.
- Better Posture: Stretching the muscles in your lower back, hamstrings, and hip flexors can contribute to better posture and reduced lower back pain.
- Stress Reduction: Stretching and flexibility exercises can help relieve stress and tension, promoting relaxation and well-being.
- Balance and Stability: Flexibility gained from splits training can improve your balance and stability, which is important in various activities and daily movements.
- Mental Discipline: Working towards the splits requires dedication and patience. It can teach mental discipline and perseverance as you progress slowly over time.
- Increased Body Awareness: As you work on the splits, you become more aware of your body and its capabilities, leading to better body awareness and mindfulness.
- Personal Achievement: Successfully achieving the splits can be a significant personal achievement and boost your self-confidence.
- Yoga and Meditation: In yoga and meditation practices, splits can represent a balance between opposing forces and can symbolize harmony and unity.
- Artistic Expression: For dancers and performers, the splits are often part of artistic expression and can be incorporated into choreography and routines.
- Body Balance: Achieving the splits can help create a sense of balance and symmetry in your body, improving overall physical harmony.
It’s essential to approach splits training cautiously and patiently, especially if you’re a beginner. Listen to your body, avoid pushing yourself too hard, and consult a fitness or yoga instructor to ensure you use safe and effective stretching techniques. Additionally, remember that the journey to achieving the splits is as valuable as the destination, as it can help you build better physical and mental well-being.
