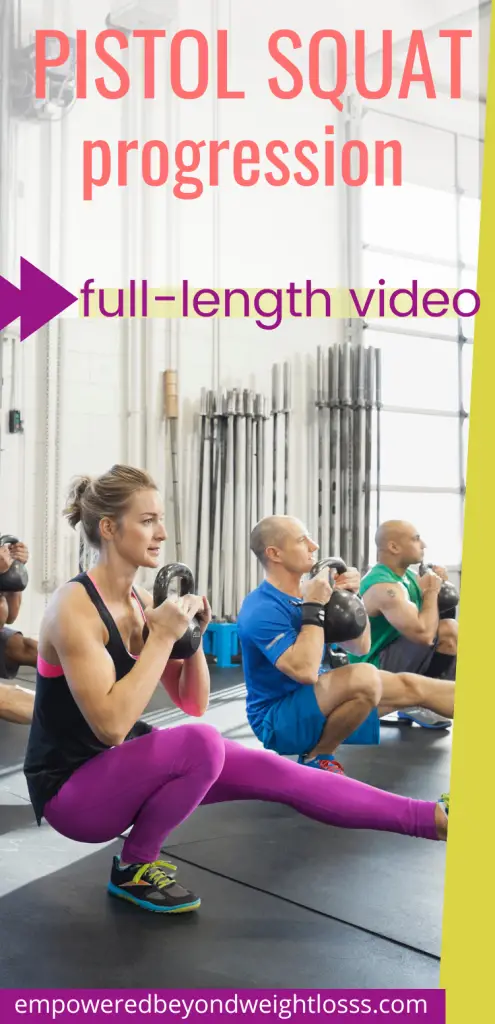
This pistol squats for beginners routine is just as much meant to help you as it is meant to help me (like many other posts I write). If getting your pistol squat is not one of your goals, you may use this progression as a lower-body workout. It is super effective! Pistol squats are one of the best exercises for building strength and power. They’re also an excellent way to improve your balance and coordination. I’ll show you how to do them correctly in this pistol squat progression routine.
As you may know, I started enjoying yoga about two years ago, transforming my health journey. Read Starting Yoga at 40 or Later: Everything You Need to Know. I recently completed my 500-hour yoga instructor certification so you can expect more yoga content on the blog. My yoga routine involves vinyasa flows, yes, but also yoga drills. I love yoga drills to work on different skills and improve my strength. Pistol squats are the perfect leg strength and balance exercise. I can’t do them now, but it’s one of my goals to achieve by the end of 2022. Learn along with me!
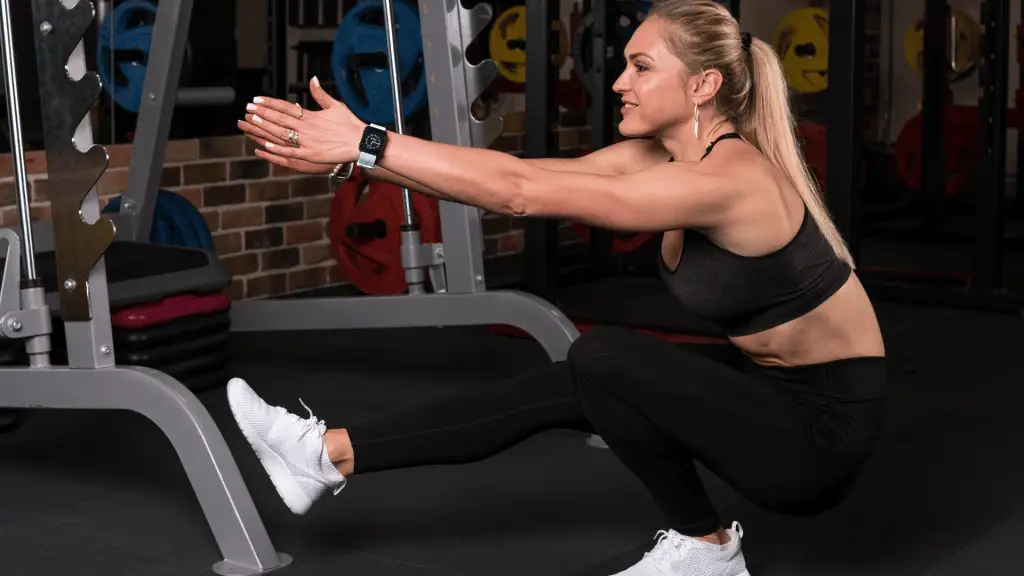
What Is a Pistol Squat
First, if you are brand new to yoga, you may not know what a pistol squat looks like:
Pistol Squat Progression Step-By-Step
The pistol squat requires incredible quad strength for your straight leg and overall leg strength for the supporting leg. The following pistol squat progression drills will help you build these gradually. Also, don’t forget to check out my entire follow-along routine at the end of this post.
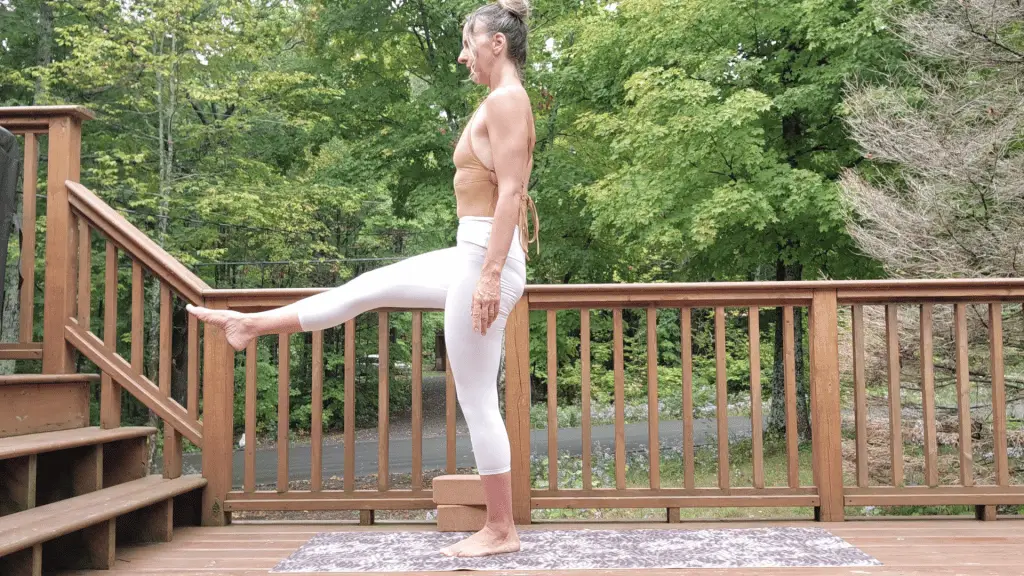
Standing Balance One Leg Raised (Utthita Eka Padasana)
The standing balance one leg raised pose is the first stage of your pistol squat progression. If you struggle with this pose, use a wall for support.
Stand in the Mountain Pose (or with your feet in a comfortable hip distance stance). Raise your right knee at hip level. Extend your right leg. Make sure you don’t raise your hip with your leg. Don’t tuck in your tailbone. Hold for a few breaths.
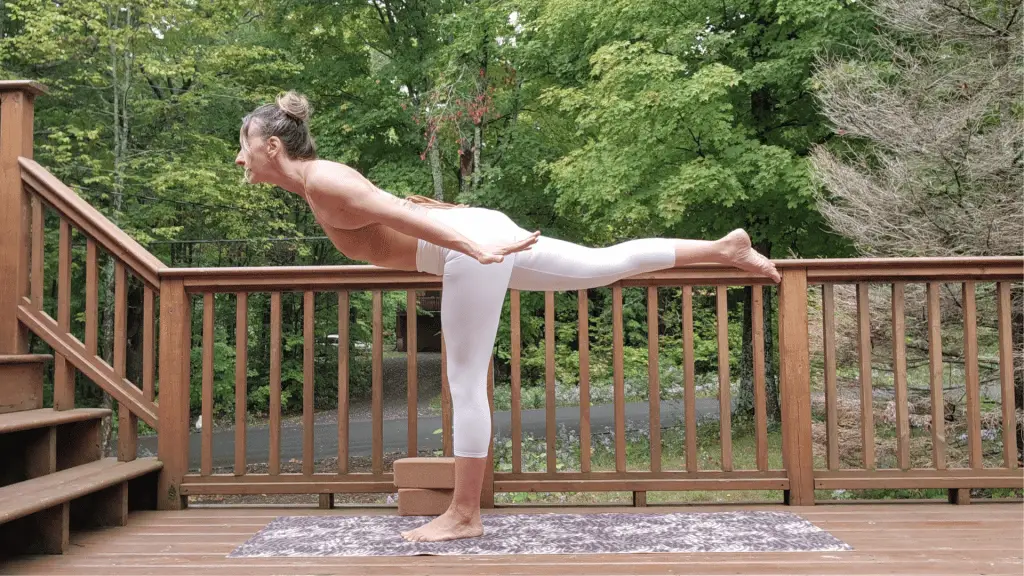
Airplane (Dekasana)
From Mountain Pose (Tadasana), shift your weight to your left foot and lift your right leg behind you. This will cause your torso to move forward. Extend your arms to your sides. Hold this pose for a few breaths and move back into Standing Balance One Leg Raised. Repeat the transition from Standing One Leg Raised to Airplane a few times and do the same thing on the other side.
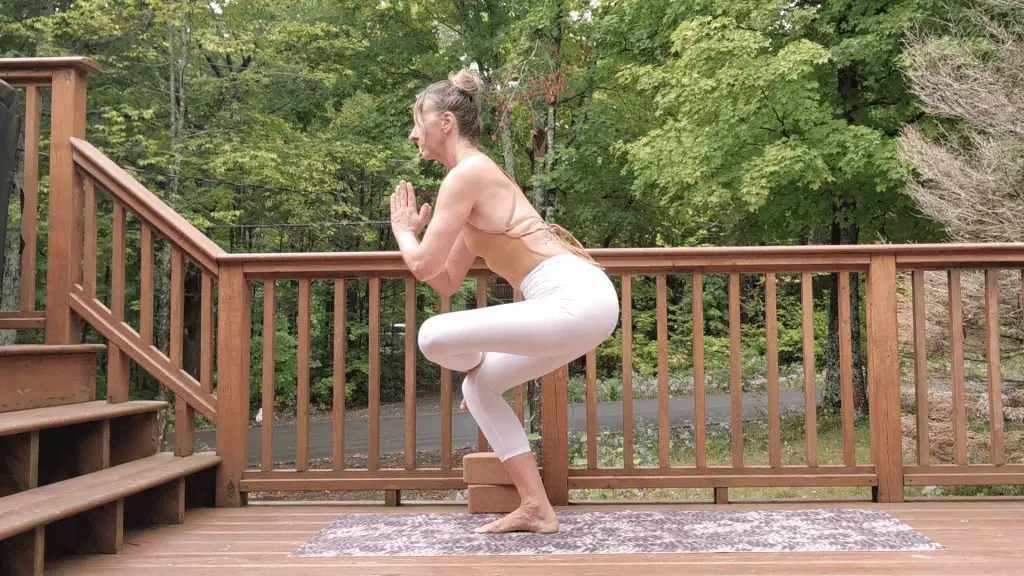
One-Legged Chair Pose (Eka Pada Utkatasana)
Begin in Mountain Pose and sit in Chair Pose by bending your knees slowly. Lift your right foot off the floor and cross your right foot over your left thigh above your knee. Flex your right foot and stay in this position for a few breaths. Repeat on the other side.
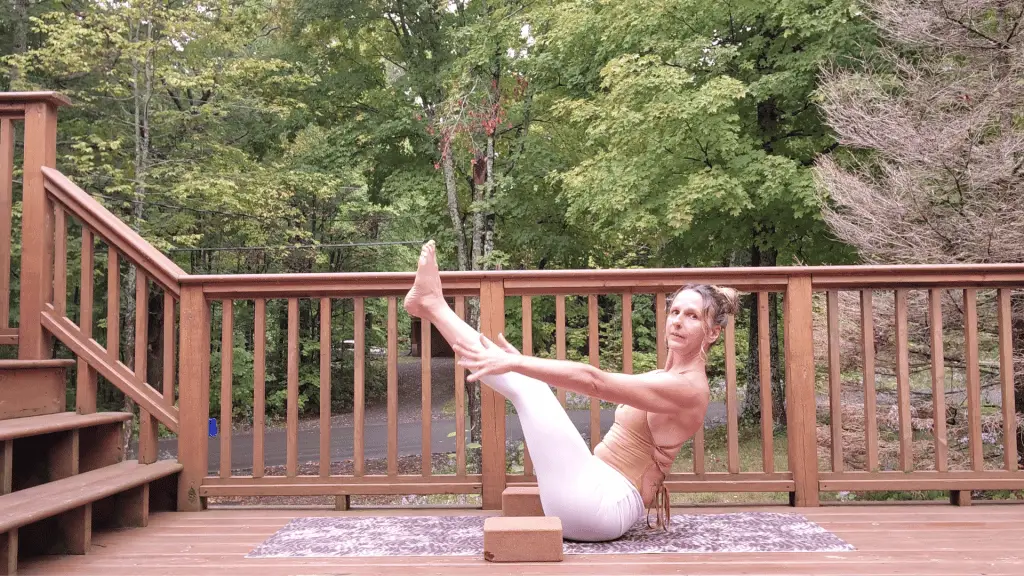
Boat Pose (Navasana)
The purpose of the boat pose in this pistol squat progression is to strengthen your quads and psoas. I find it to be an effective preparatory exercise.
Sit on the floor with your knees bent at a 90-degree angle in front of you. Lift your chest, draw your shoulder blades down, and keep your arms straight at shoulder level or higher. If possible, lean back on your sitting bones, lift your feet off the ground, and straighten your legs. Hold for as long as you can. Try tapping each foot on the corresponding wrist to challenge your strength and balance further.
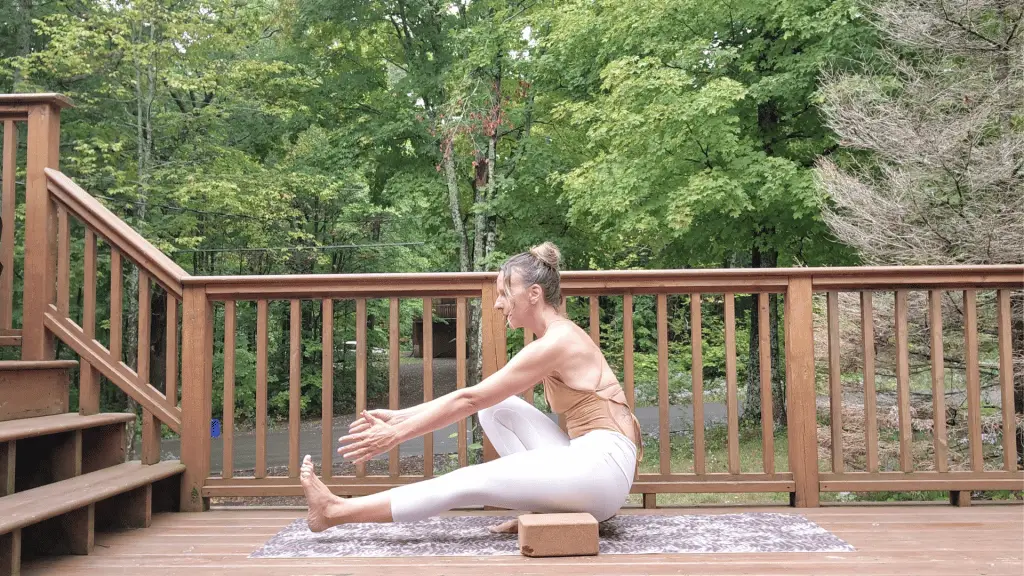
Single-Leg Isometric Hold
This exercise will also help you gain enough strength and balance to get your pistol squat. Start in Mountain Pose, shift your weight on your left foot, and squat as low as possible with your right leg extended in front of you. Hold for as long as you can. Repeat on the other side. Do it three times on each side.
Then, start in a low squat and extend your right leg. Keep this as long as you can. Repeat on the other side.
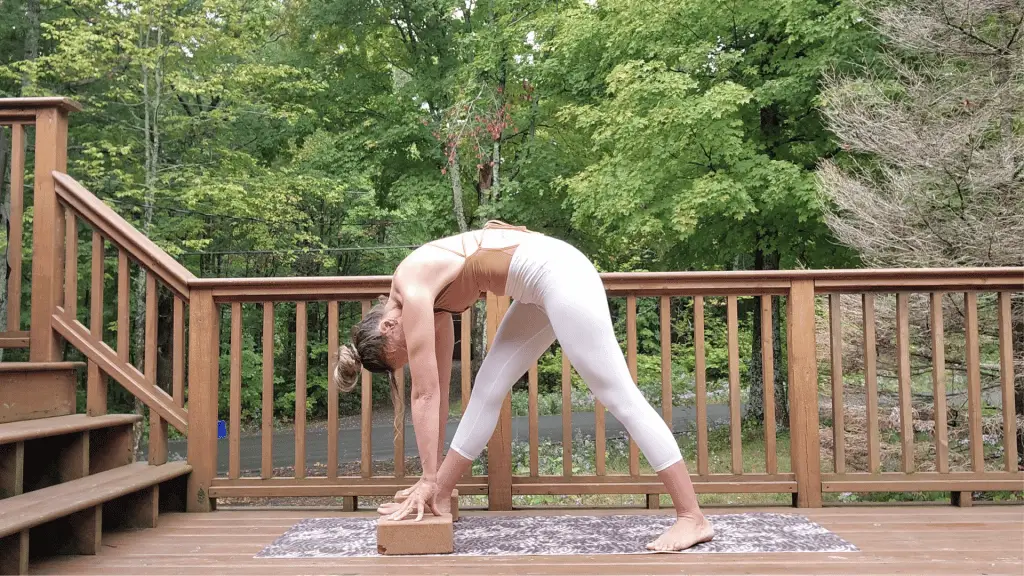
Leg Lift In Pyramid Pose
I love practicing this exercise! I think you will enjoy it too! Get in the Pyramid Pose with your hands placed blocks on each side of your front leg. Shift your weight on your back leg and round your back as you press through your hands and try to lift your front foot off the mat. Hold for three seconds and repeat three times on each side.
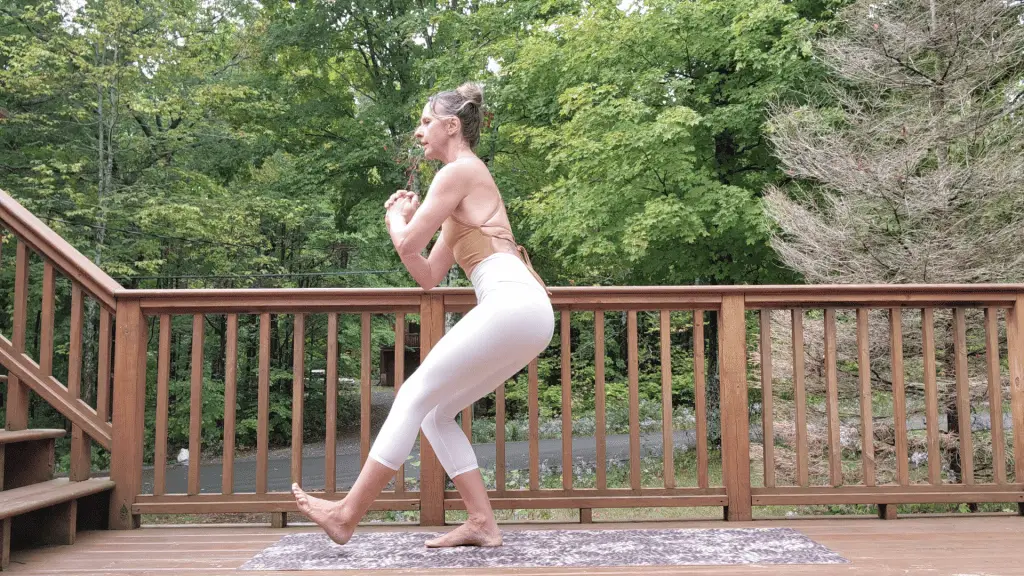
Supported Pistol Squat With Standing Splits
The last two exercises in this pistol squat progression are pistol squat modifications that will enable you to get closer to achieving the pistol squat. Again, you will need yoga blocks on each side to perform this exercise. Start in the standing splits (no need to bring your leg up high behind you), lower your back leg down, and bring it through in front of you as you support yourself on your yoga blocks. Hold your leg isometrically as long as you can. Do it three times on each side.
One-Legged Squat
You may need a sturdy elevated surface for this last exercise. Practice the one-legged squat by lowering your body as far as possible without tucking your tailbone.
As your strength increases, try this:
- Stand with feet shoulder-width apart.
- Hold a dumbbell or barbell at arm’s length next to your body.
- Bend your knees slightly and squat down as far as you comfortably can.
- As you stand up, drive through your heels and push yourself back into position.
- Repeat until you’ve done 10 reps.
Pistol Squats for Beginners Follow-Along Routine
As you practice getting your pistol squat, you may practice each drill separately to match your skill level or use my follow-along routine. I also use it with my Lower Body Mobility Exercises With Full-Length Video Routine.