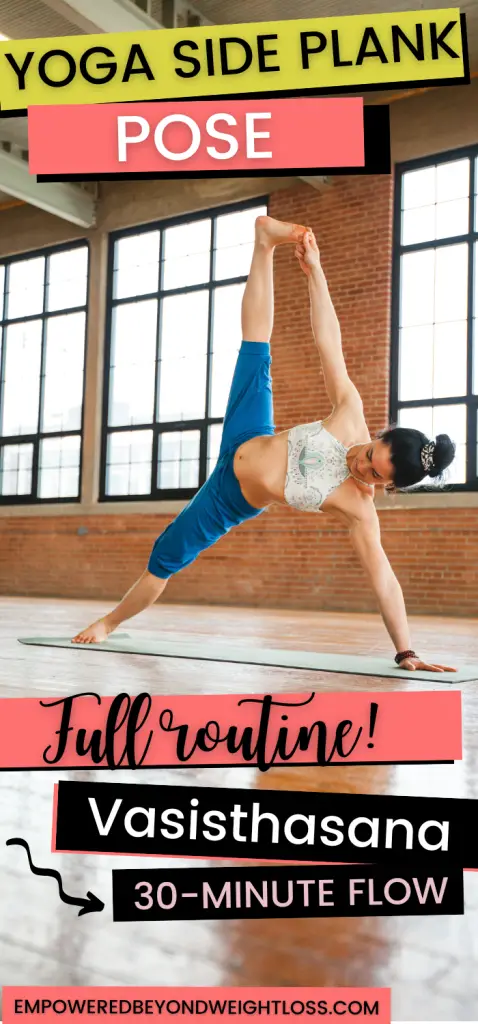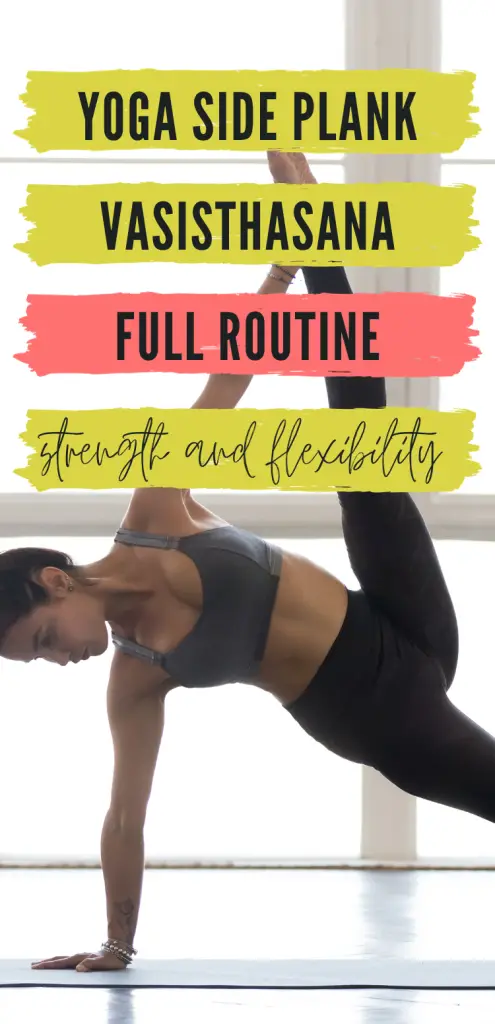
This yoga side plank pose vinyasa flow has become one of my staples. I love how effectively it increases your core strength and flexibility. It’s an exercise in mastering your mind and your body. In this post, I provide a full-follow-along video routine. Furthermore, we discuss the benefits of the side plank pose and the preparatory poses that will get you there.
Vasisthasana Benefits
What are the benefits of the yoga side plank pose? Here’s just a sampling of what you may experience:
- Stronger arms, wrists, and shoulders: The Side Plank Pose requires you to support your body weight on one arm, which helps to build upper body strength and stability.
- Improved core strength and toned abs: The pose requires you to engage your core muscles to maintain balance, which helps to strengthen the muscles in your abdomen and back.
- Enhanced balance and stability: By practicing the Side Plank Pose, you can improve your balance and stability, which can help prevent falls and injuries.
- Increased flexibility: The pose stretches the sides of the body, hips, and legs, which helps to improve overall flexibility.
- More confidence: The Side Plank Pose can be challenging, and mastering it can give you a sense of accomplishment and confidence.
- Calmer mind and more focus: The focus required to hold the pose can help to quiet the mind and reduce stress and anxiety.
The Yoga Side Plank Pose is excellent for building strength, improving balance, and increasing focus. It’s a perfect example of using yoga to master your body and mind.
Yoga Side Plank Pose Flow
The One Most Common Yoga Side Plank Mistake
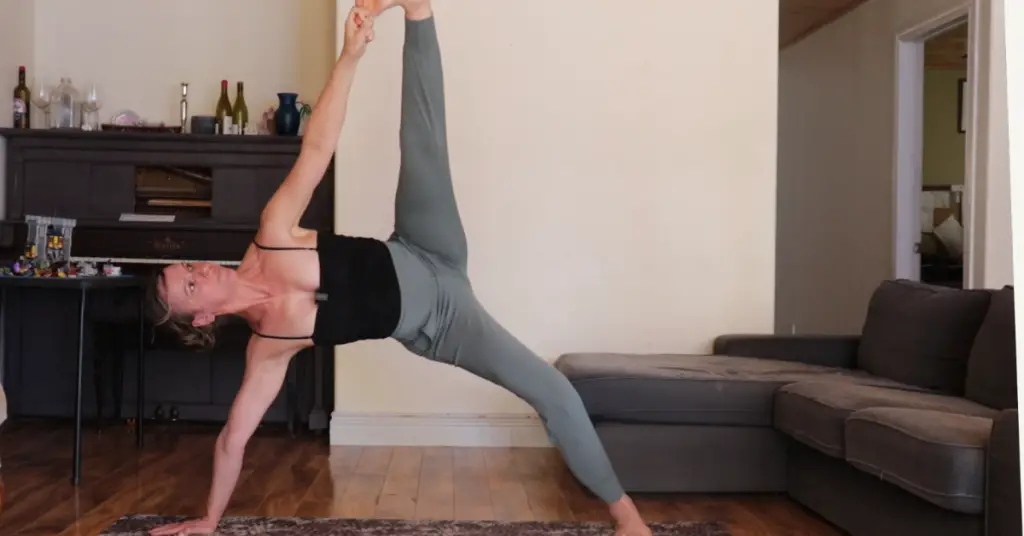
The most common yoga side plank mistake is sinking in the hips and not leaning into the back body. Let me show you what that looks like:
This side plank is not bad, but notice how he is sinking slightly into her hips. Instead, practice sticking your butt out and forming an arch with your side body as you practice the side plank variations. Then, when you grab your toes to straighten your top leg, pull your top arm bone back and lean into your back body. It is better to practice with proper form without holding your top leg straight. Start with this variation:
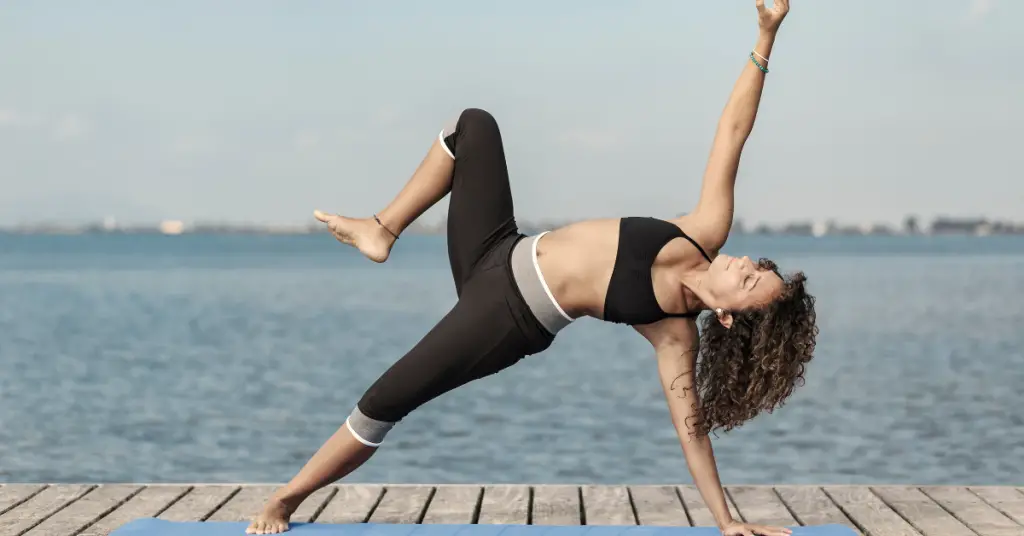
Notice how lifted her side body is, and she is leaning her pelvis back.
Vasisthasana Preparatory Poses
To prepare for the yoga side plank pose, it is essential to stretch for the front splits. Furthermore, you must increase your core strength and side plank stability. The following poses will help you prepare your body:
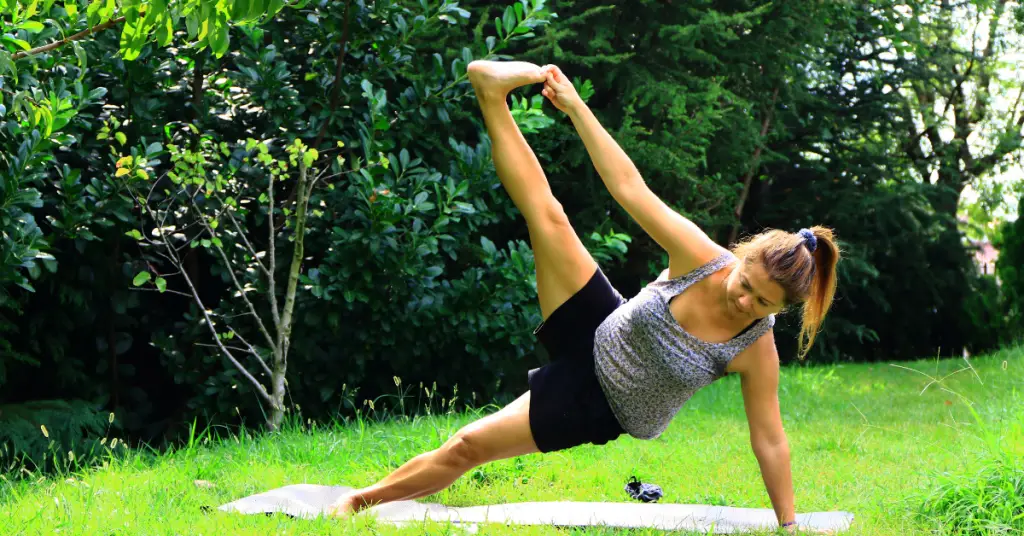
- Side plank variations: Practice getting stronger with your side planks. Over time, learn to lift the top leg, hold your knee with your hand and lean to your black body. Read about some side plank variations to try here.
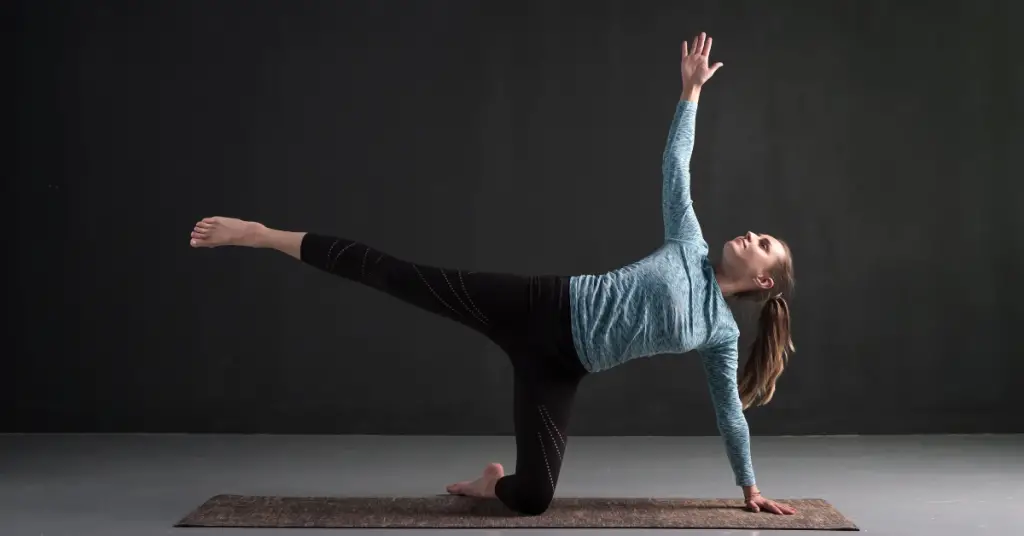
- Fallen triangle: This pose will also strengthen your core and help you learn to lean in your back body as you press your chest and hips up. From the side plank, extend the bottom leg to the side, and the opposite arm reaches towards the sky, while the other arm rests on the extended leg, creating a triangular shape with the body.
- Low Lunge: Bring one leg forward with the knee bent at a 90-degree angle with the other leg extended behind while the hands rest on the front thigh or the ground beside the foot. This pose stretches the hips, thighs, and groin while strengthening the legs and core. Learn more about the low lunge.
- Standing Splits: Lift one leg behind you while your hands are on the ground or blocks in front of the standing foot. This pose helps to stretch the hamstrings and increase balance and focus. Here’s where you can learn more about the standing splits.
- Pyramid pose: Step one foot forward while the other is stepped back, with both feet pointing forward. The torso is folded over the front leg, with the hands resting on the floor or the front leg. This pose stretches the hamstrings, calves, and spine while building strength in the legs. Read this if you want to learn more about the pyramid pose.
- Pistol squat: Sit with one leg extended in front while the other leg is bent, with the heel close to the hip, and the hands can either be in a prayer position or extended forward. This pose requires balance and strength, and it helps strengthen the legs, hips, and core while improving flexibility. It may not be obvious how the pistol squat can prepare you for the Vasisthasana, but hip flexor and core exercises help warm you up and facilitate the splits.
- High lunge: Bring one leg forward with the knee bent at a 90-degree angle, and the other leg is extended behind, with the hands raised overhead or resting on the front thigh. This pose stretches the hips, thighs, and groin while building strength in the legs and core. Read up on the high lunge.
- Triangle pose: Spread your legs wide apart, and the torso is tilted to one side while the arm on that side extends towards the floor and the other arm extends towards the sky. This pose helps to stretch the hamstrings, hips, and spine while improving balance and core strength. To learn more about the triangle pose, read this.
- Half moon: Ground one foot while the other leg is lifted and extended behind the body, with one hand resting on the ground or a block and the other arm extending towards the sky. This pose helps to improve balance, strengthen the legs and core, and stretch the hamstrings and hips. Click here for a more detailed explanation of the half moon pose.
- Half Splits: Extend one leg in front with the heel pressing down on the mat while the other knee is grounded, with the hands resting on the ground or blocks on either side of the front leg. This pose helps stretch the hamstrings and calves while improving hip and lower back flexibility. Read more about the half splits.
- Full Splits: The full splits, also known as Hanumanasana, is an advanced yoga pose where one leg is extended forward with the heel flexed towards the sky and the other leg is extended behind, with both legs straight and in line with the hips. Keep your legs strong and active as you work in your splits. Lift through your chest and breathe. This pose requires significant hamstring, hip, and groin flexibility and can help improve overall lower body flexibility and strength. You don’t have to be able to get into your full splits to practice today’s routine. However, you should be flexible enough to get pretty low in the splits.
If you cannot get into the splits yet, I recommend spending some extra time training to increase your flexibility. That’s precisely why I created my Full Body Flexibility Program, a step-by-step roadmap that will help you work up to your yoga side plank pose and other yoga poses like the king pigeon, the standing spits, the middle splits, and the wheel pose.
Yoga Side Plank Pose Follow-Along Routine
This routine has become one of my favorites. I do it at least once weekly now that I am in phase 4 of my Full-Body Flexibility Program.
Modified Side Plank Yoga
You could use the modified side plank to work up to your full side plank. However, remember that the modified side plank doesn’t require leaning to your back body like the full yoga plank pose. I would rather slowly work up using the preparatory plank variations you will see in my follow-along video.
The modified yoga side plank is a variation of the traditional Side Plank Pose (Vasisthasana) that is easier and more accessible for beginners or those with limited mobility. Here’s how to do it:
- Start in a plank position with your shoulders directly over your wrists and your body in a straight line from head to heels.
- Shift your weight onto your right hand and rotate your body to the left, stacking your left foot on top of your right foot.
- Place your left hand on your left hip or reach it toward the ceiling, whichever is more comfortable.
- Hold the pose for a few breaths, then lower your left hip down to the mat and return to a plank position.
- Repeat on the other side by shifting your weight onto your left hand and stacking your right foot on top of your left foot.
In the modified version, you can keep the bottom knee on the ground, providing extra support and stability. This version is also helpful for those who need to build strength in their arms and core muscles before progressing to the full pose.
The modified yoga side plank offers similar benefits as the traditional pose, such as building upper body strength, improving balance and stability, and increasing flexibility.
In Summary
Ultimately, the best way to get the yoga side plank pose is to improve your core strength and flexibility for the splits. Furthermore, you will notice that, like most yoga poses, your mind has a significant impact. Whenever I try a difficult yoga flow with a challenging peak pose, I cannot follow the first time the instructor gets in the pose. I pose the video, take a step back to work on my mindset, and more often than not, I do a pretty good job the second time around. Keep practicing and practicing! That’s how you achieve any skill!