I have been figuring out how to get better at backbends for about a year and a half. When I started at 43, I couldn’t lift myself off the floor to get in the wheel pose. I have come a long way! Now, I can do a three-legged wheel and other interesting transitions, but I am still working on my King Pigeon, so follow along as we work on improving our backends!
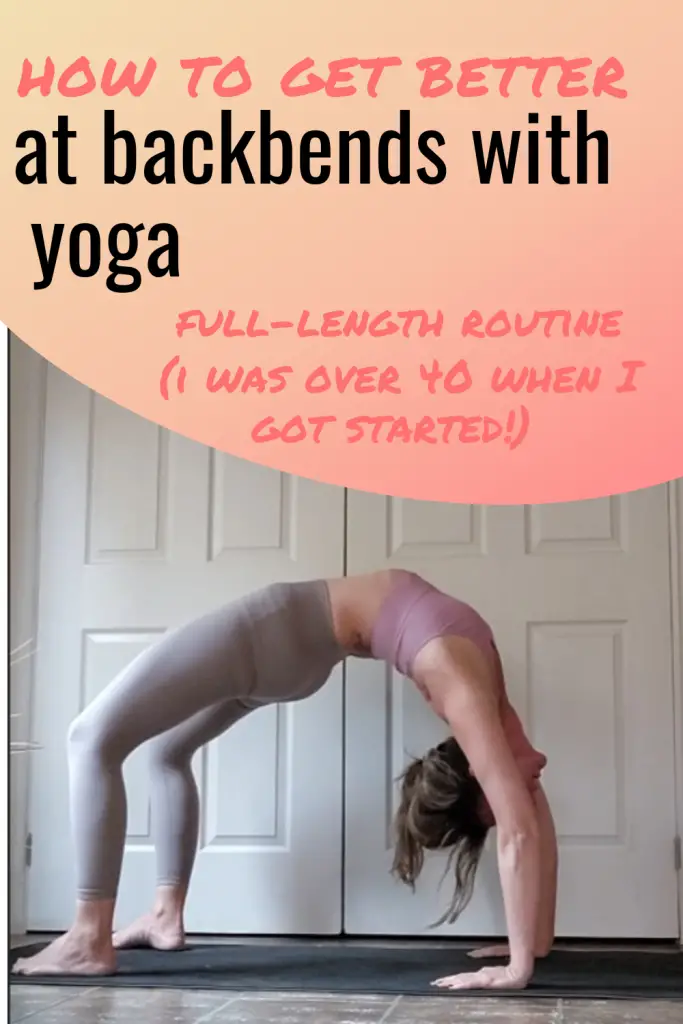
How to Get Better at Backbends
I enjoyed this back-bending routine for a while. Then, I kept experimenting with routines on Alo Moves. My back flexibility is improving significantly after a year and a half, but my shoulder flexibility limits me. Most back-bending yoga flows skip over the shoulders reasonably quickly, so I ensured that today’s routine includes some good shoulder stretching.
Backbends for Beginners
As a beginner, you can modify today’s routine by skipping over the wheel pose (or attempting it gradually, starting with Benefits of the Wheel Pose in Yoga and How to Get Started). You may also enjoy my Lower Back Strengthening Exercises Inspired by Yoga. Furthermore, if you find yourself a beginner wondering why can’t I do a backbend? I can answer this question with one simple word: flexibility. Or the lack thereof. If you are trying to lift yourself into wheel pose, you may feel like you lack shoulder and arm strength, but if you can lift yourself into plank, you have the strength necessary for the wheel. The issue is most likely related to your lack of back and shoulder flexibility. It is essential to train for flexibility to get better at backends.
Even as a yoga instructor, I know what being a beginner at backends is like. Check out how far I have come (in my forties):
Read about my 1-Year Yoga Transformation if you are curious about my progress.
If you want a step-by-step program to improve your flexibility, you will enjoy my Full-Body Flexibility Transformation Program. It provides a strategic three-phase framework to guide you through the process of becoming flexible with workout calendars, follow-along stretching routines, and mini-coaching videos.
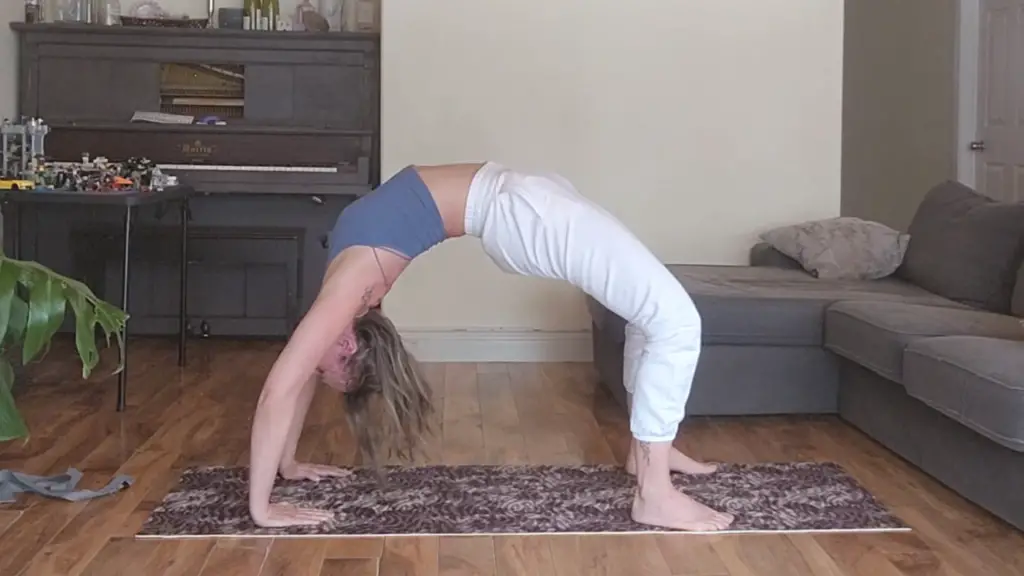
How to Do a Backbend for Beginners at Home by Yourself (the Wheel Pose)
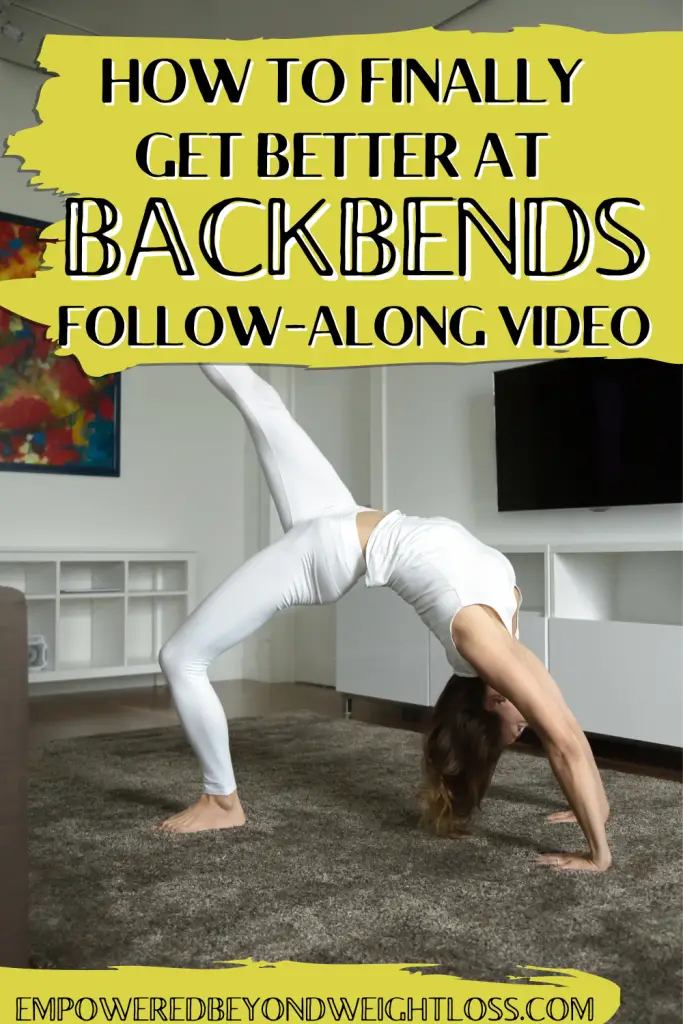
You are ready to get into your wheel pose after training to improve your back and shoulder flexibility with the resources I mentioned above. Use today’s follow-along video for some insight on how to do it by yourself, and keep these tips in mind:
- Bring your hands on the side of your head with your fingers pointing towards your shoulders.
- Lift to the crown of your head.
- Draw your shoulder blades back and down.
- Lift your head by pressing your chest through your arms as much as possible.
- Feel your feet pressing forward.
- Keep your butt engaged but soft.
- Engage your thighs and imagine holding a yoga block between them (you can use a yoga block to practice).
- Aim to breathe five times in the pose.
- Press your chest forward and back as you breathe.
- Lower slowly by pressing your chin in first.
How to Get Better at Backbends Using Today’s Routine
Like with any other skill, improving your backends will require consistency. In the beginner stages of my Full-Body Flexibility Transformation program, you will work on your backends twice a week. As you advance, you may train your backends every second day (that’s what I do to reach my goal of getting in the full pigeon pose.
I find that longer holds are most effective in increasing your flexibility overall. Today, we will be holding most stretches for about two minutes. We will use a variety of back bends and shoulder stretches.
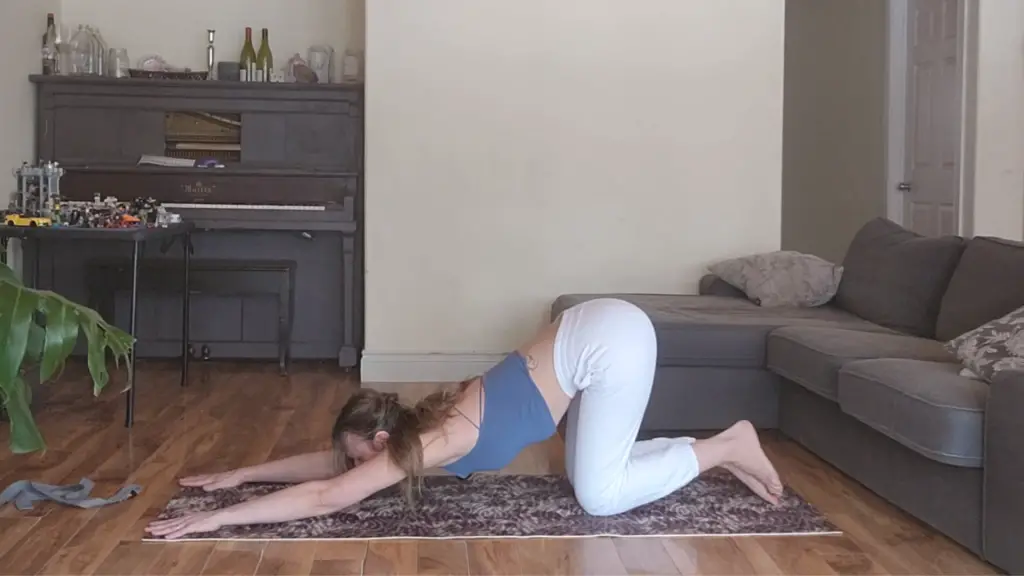
Extended Puppy Pose
Extended puppy pose, or Uttana Shishosana, is a yoga posture performed on the floor. Here are the steps to perform the pose:
- Start on all fours with your wrists directly under your shoulders and your knees under your hips.
- Walk your hands forward, keeping your arms straight until your forehead touches the floor.
- Keep your hips and arms extended, pressing your palms firmly into the ground.
- Lengthen your spine, reaching your tailbone away from your head.
- Relax your neck and let your forehead rest on the ground.
- Stay in the pose for 30 seconds to 1 minute, breathing deeply.
- To release the pose, walk your hands back to your knees.
The extended puppy pose stretches the spine, shoulders, and arms, and can be excellent for relieving stress and tension in the upper body.
Revolved Low Lunge
Revolved low lunge, also known as Parivrtta Anjaneyasana, is a yoga posture that stretches the hips, thighs, and spine while improving balance and stability. Here are the steps to perform the pose:
- Start in a low lunge position, with your right foot forward and your left knee on the ground.
- Place your hands on your right thigh and lift your chest, keeping your spine long.
- Inhale and extend your arms overhead, reaching up through your fingertips.
- Exhale and twist your torso to the right, bringing your left elbow to the outside of your right knee.
- Press your palms together in prayer, or reach your left arm straight towards the ceiling, stacking your shoulders.
- Gaze up towards your left hand if extended or straight ahead if your palms are in prayer.
- Hold the pose for 30 seconds to 1 minute, breathing deeply.
- To release the pose, inhale and return to the low lunge position, then repeat on the other side.
Revolved low lunge provides a deep stretch to the hips and thighs, toning the core and building strength in the legs. In my routine, we will focus on this revolved low lunge variation.
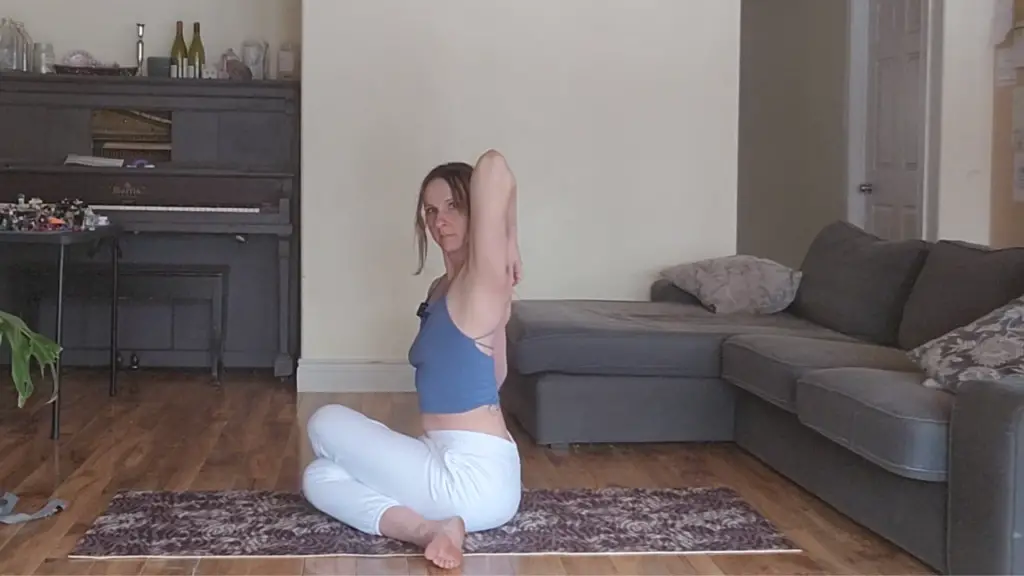
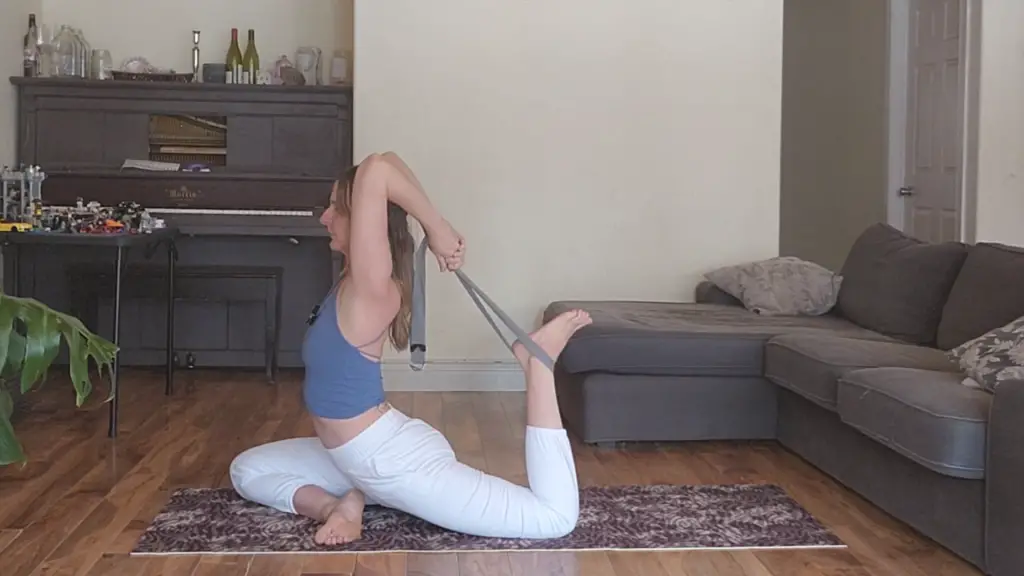
Cow Face Pose
Cow face pose, or Gomukhasana, is a seated yoga posture stretching the hips, thighs, and shoulders while improving spinal alignment. Here are the steps to perform the pose:
- Start in a seated position with your legs extended in front of you.
- Bend your knees and place your feet on the floor, then slide your left foot under your right knee to the outside of your right hip.
- Cross your right leg over your left, bringing your right foot to the outside of your left hip.
- Stack your knees directly on top of each other.
- Inhale and lift your left arm straight towards the ceiling, then bend your elbow and bring your left hand down behind your back.
- Reach your right arm behind your back and up towards your left hand, clasping your fingers together if possible.
- If your hands cannot reach each other, hold onto a towel or strap with both hands.
- Hold the pose for 30 seconds to 1 minute, breathing deeply.
- Release the pose and repeat on the other side.
Cow face pose provides a deep stretch to the hips, thighs, and shoulders while improving spinal alignment and posture.
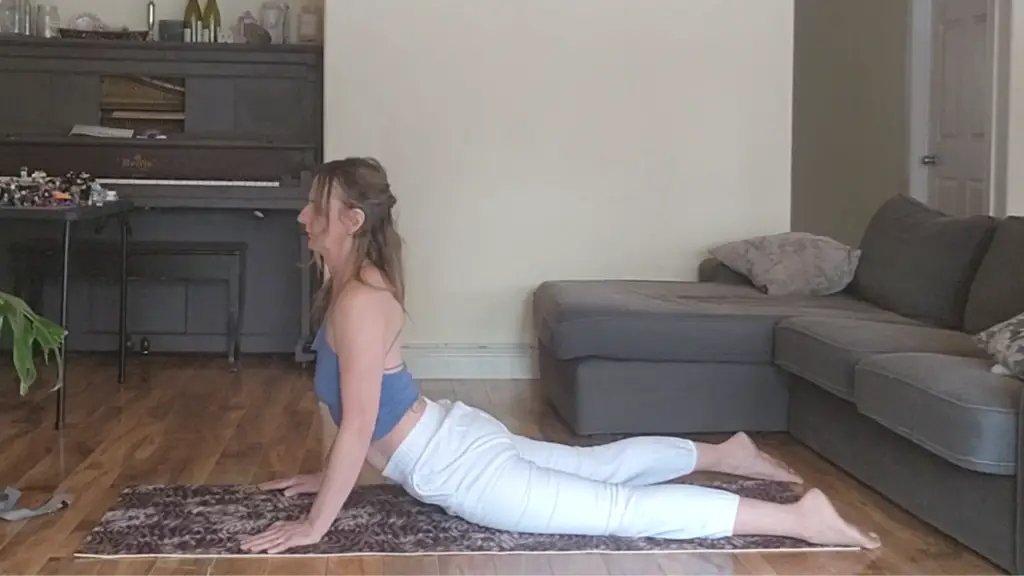
Cobra Pose
Cobra pose, also known as Bhujangasana, is a yoga posture that strengthens the back, arms, and shoulders while stretching the chest and abdomen. Here are the steps to perform the pose:
- Lie flat on your stomach, legs extended behind you, and hands under your shoulders.
- Press the tops of your feet into the ground and engage your leg muscles.
- Inhale and press into your hands, lifting your chest off the ground.
- Keep your elbows close to your sides, and your shoulders relaxed away from your ears.
- Keep your gaze forward or slightly upwards, lengthening the back of your neck.
- Hold the pose for 15-30 seconds, breathing deeply.
- Exhale and slowly release back down to the ground.
Cobra pose is a gentle backbend that can help to alleviate tension in the lower back and improve posture.
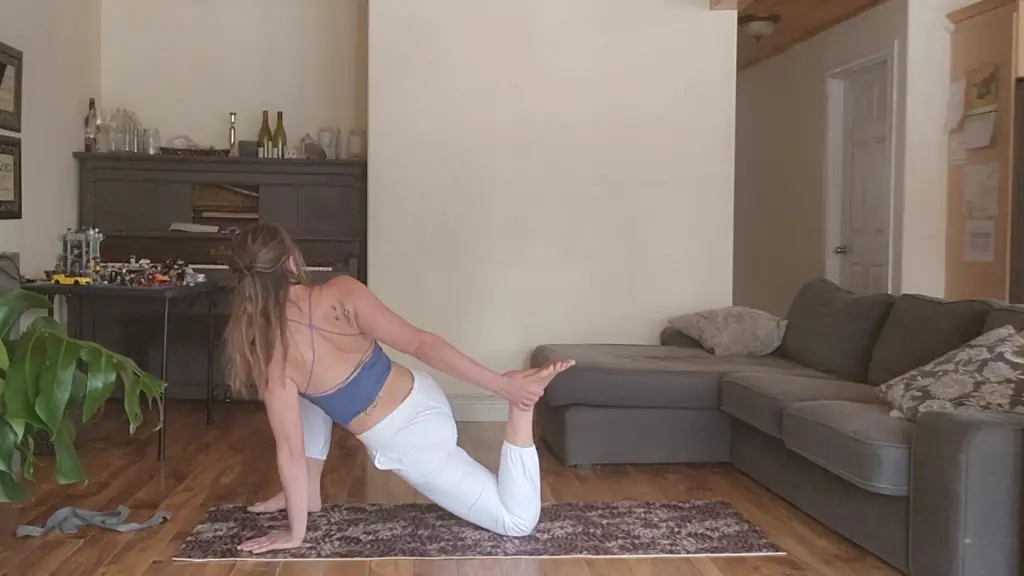
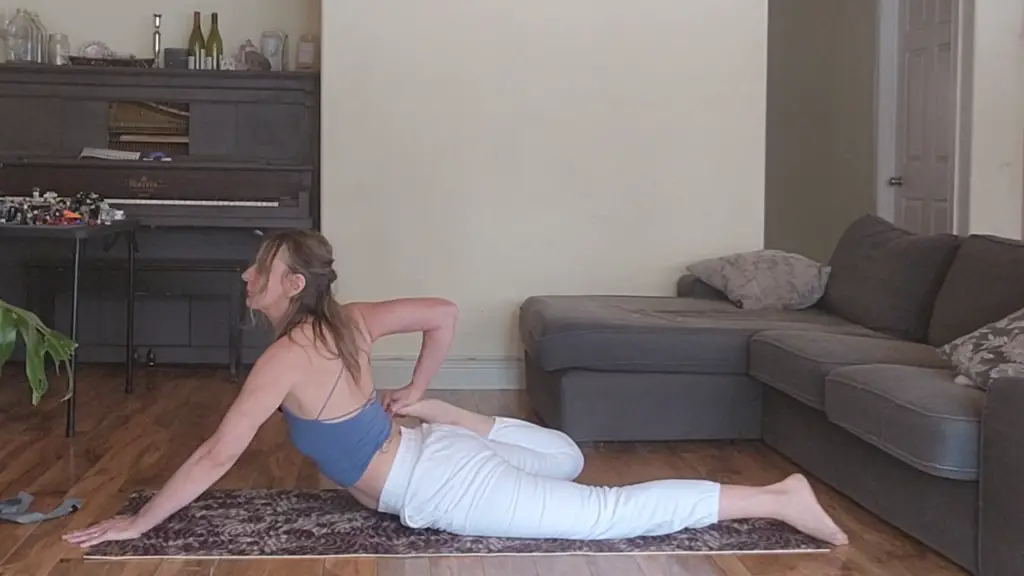
Half Frog Pose
Half-frog pose, also known as Ardha Bhekasana, is a yoga posture that stretches the quadriceps, hip flexors, and chest. Here are the steps to perform the pose:
- Start by lying flat on your stomach with your legs extended behind you.
- Prop yourself up onto your forearms, keeping your elbows under your shoulders.
- Bend your left knee and reach back with your left hand to grasp your left foot or ankle.
- Draw your left heel towards your left buttock, keeping your knee aligned with your hip.
- Press your hips and thighs into the ground, lengthening through your right leg.
- Keep your chest lifted and your shoulders relaxed away from your ears.
- Hold the pose for 30 seconds to 1 minute, breathing deeply.
- Release the pose and repeat on the other side.
The Half frog pose is a deep stretch for the quad, triceps, and hip flexors to help open the chest and improve posture.
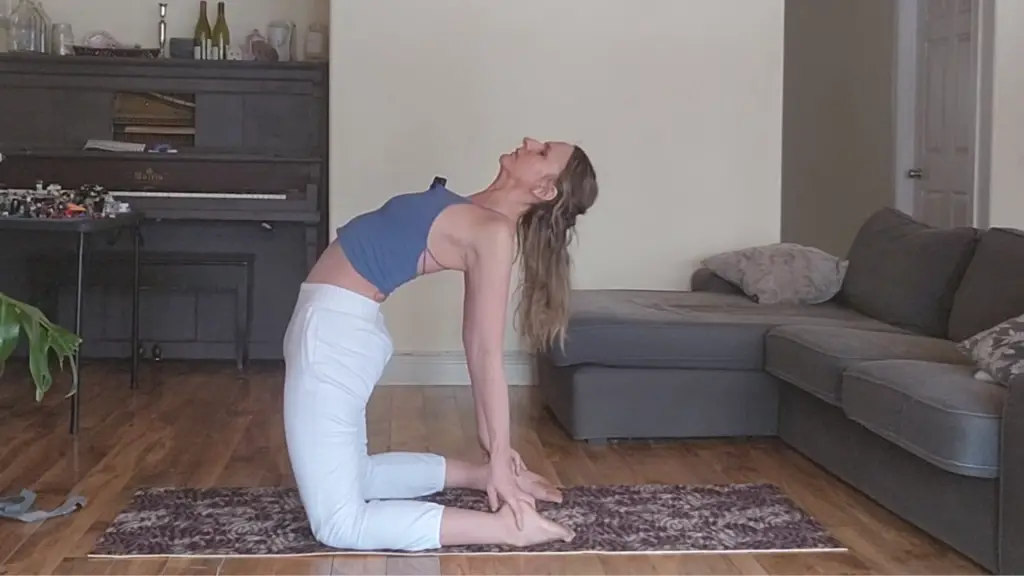
Camel Pose
Camel pose, also known as Ustrasana, is a yoga posture that stretches the entire front of the body, including the chest, abdomen, and hip flexors, while also strengthening the back muscles. Here are the steps to perform the pose:
- Begin by kneeling on the ground with your knees hip-distance apart and your shins and feet on the ground.
- Place your hands on your lower back with your fingers pointing down.
- Inhale and lift your chest, rolling your shoulders back and down.
- Exhale and slowly begin to lean back, bending your spine and reaching your hands towards your heels.
- Keep your hips aligned over your knees and thighs perpendicular to the ground.
- If you can reach your heels, place your hands on them. Otherwise, keep your hands on your lower back.
- Keep your neck relaxed and your gaze towards the ceiling.
- Hold the pose for 30 seconds to 1 minute, breathing deeply.
- To release the pose, inhale and slowly return to a kneeling position.
Camel pose can help to improve posture, open the chest, and relieve tension in the neck and shoulders.
King Pigeon Pose
King pigeon pose, also known as Rajakapotasana, is a yoga posture that stretches the hip flexors, quadriceps, and chest while also improving posture and balance. Here are the steps to perform the pose:
- Begin in Downward-Dog pose, with your hands and feet on the ground.
- Step your right foot forward between your hands and lower your left knee to the ground.
- Walk your right foot to the left side of your mat so that your right knee points towards the right edge of your mat.
- Place your right heel near your left hip, and make sure your right shin is angled towards the left hip.
- Bring your left leg back, straightening your knee, and rest the top of your left foot on the ground.
- Place your hands on your hips and lift your chest, rolling your shoulders back and down.
- Inhale and reach your right hand back towards your left foot.
- Exhale and bend your left knee, returning your left hand to your right foot.
- Try to clasp your hands behind your back, drawing your elbows towards each other and lifting your chest.
- Hold the pose for 30 seconds to 1 minute, breathing deeply.
- Slowly release your hands and bring your right leg back to Downward-Facing Dog to release the pose. Repeat on the other side.
The king pigeon pose can help improve posture, stretch the hip flexors and quadriceps, and open the chest.
Emotional Benefits of Backbends
The first thing I noticed when I started working on my backends was how energizing they were! I suggest reading Yoga for Energy: 10 Poses to Increase Your Energy Fast for another energizing back-bending routine.
Furthermore, backbends in yoga and other forms of exercise can offer a range of emotional benefits, including:
- Energetic: Backbends can stimulate the nervous system, providing energy and vitality. They can help you feel more awake and alert, reducing feelings of fatigue and lethargy.
- Confidence: Backbends require a certain level of confidence and courage to execute correctly. Practicing backbends regularly can help you build confidence and overcome fears.
- Openness: Backbends require you to open your chest and heart center, which can release tension and promote feelings of openness and vulnerability. This can lead to deeper connections with others and a greater sense of compassion and empathy.
- Joy: The physical sensation of opening up and stretching can release endorphins and promote happiness and joy. This can help alleviate stress and anxiety, leaving you feeling more relaxed and content.
- Resilience: Practicing backbends can help you develop physical and emotional resilience. They can teach you to push through discomfort and face challenges head-on, which can translate to other areas of your life.
Stay consistent! It’s worth it!
How to Get Better at Backbends Video