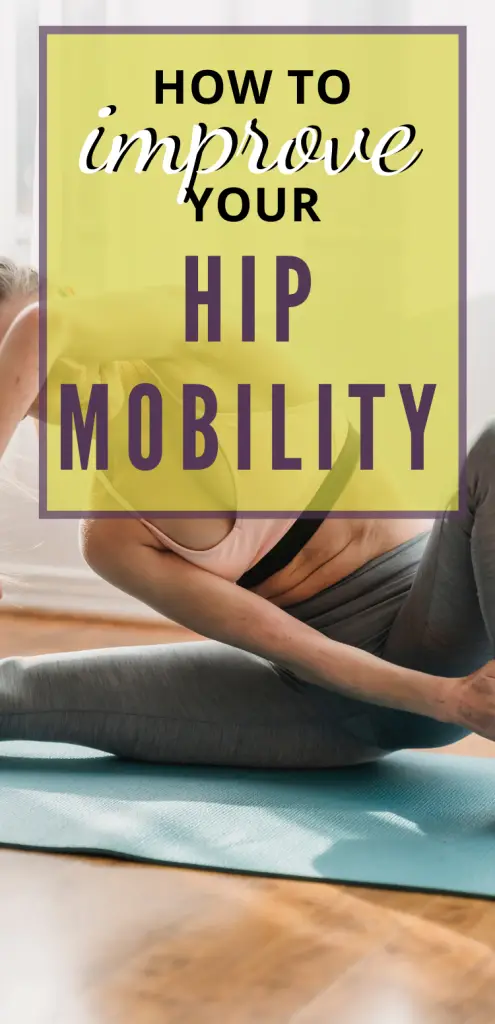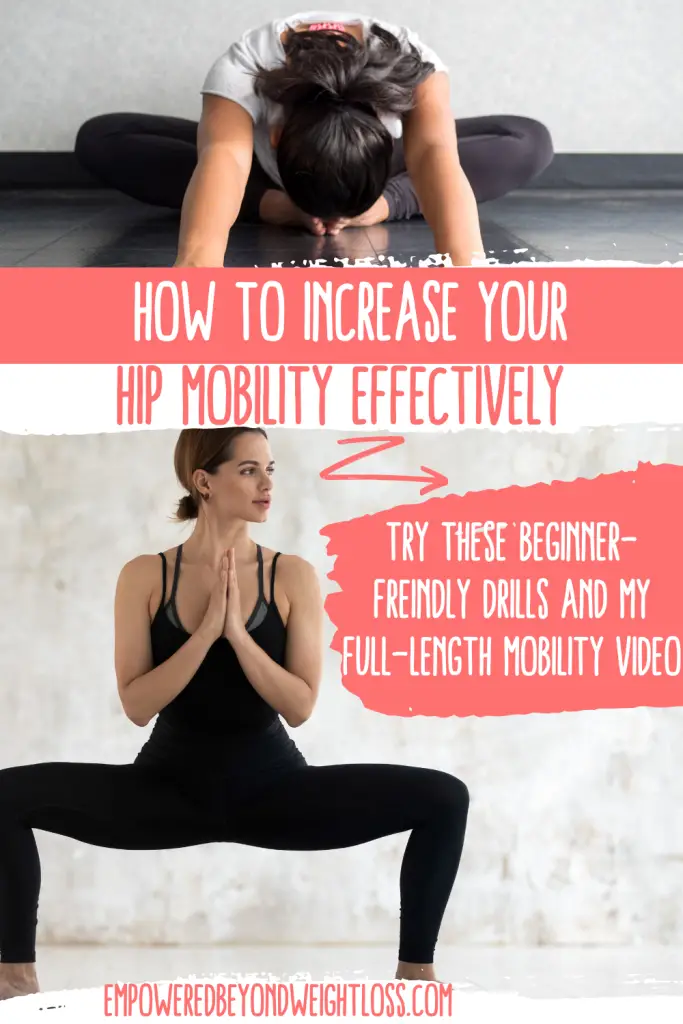
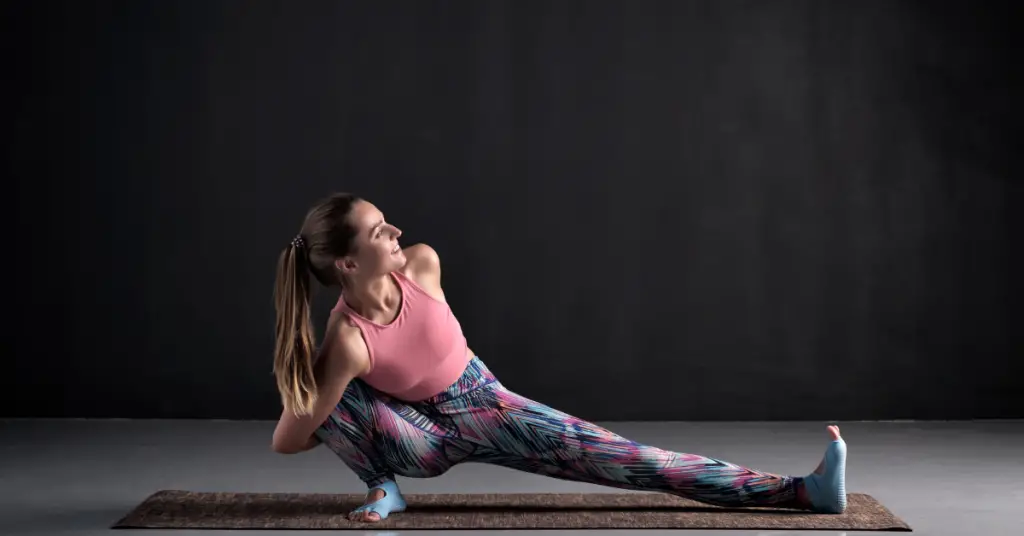
How to Increase hip mobility is all about repeating the most effective drills over and over again! Some flexibility drills, some strength drills, and a combination thereof. I have been experimenting with building my hip mobility for over a year while working on my middle splits. Today’s routine includes some of my favorite drills.
What Does It Mean to Increase Your Mobility?
Increasing your physical mobility means improving your body’s ability to move freely and perform various physical activities more easily and efficiently. It enhances your flexibility, strength, balance, and range of motion, positively impacting your overall physical well-being and quality of life.
Here are some key components of increasing physical mobility:
- Flexibility: Flexibility refers to the ability of your muscles and joints to move through a full range of motion. Engaging in stretching exercises, such as yoga or static stretching, can help improve flexibility and reduce muscle stiffness, allowing you to move more comfortably.
- Strength: Building muscular strength is crucial for supporting mobility. Incorporating resistance training exercises, such as weightlifting or bodyweight exercises, can help strengthen your muscles, enhance joint stability, and improve overall physical performance.
- Balance: Balance is essential for stability and preventing falls or injuries. Exercises that target balance, such as yoga, tai chi, or specific balance drills, can help improve your body’s equilibrium and coordination, enabling you to move confidently and in control.
- Range of Motion: Range of motion refers to the extent to which your joints can move freely. Regular stretching exercises and joint mobility drills can help increase your range of motion, allowing for more fluid and comfortable movement.
- Regular Physical Activity: Regular physical activity, such as walking, jogging, swimming, or cycling, can contribute to overall physical mobility. It promotes cardiovascular health, strengthens muscles and bones, and improves endurance, essential for maintaining mobility and independence.
By focusing on these aspects of physical mobility, you can enhance your body’s capabilities, reduce physical limitations, and enjoy greater freedom and ease of movement in your everyday life.
Why Increase Your Hip Mobility?
The more I advance in my yoga practice, the more I realize the importance of hip mobility drills. I focused on passive stretches when I started doing yoga two years ago because I wanted to increase my core strength and do the splits. The first splits program I purchased included some mobility exercises, but I hated it because I wasn’t flexible enough, and it was too difficult. That’s why Phase 1 of my Full-Body Transformation Program is more passive (although it does include the most accessible mobility drills).
As a stiff beginner, you may find combining strength and flexibility exercises challenging. However, as your flexibility increases, you must increase your strength and flexibility to reach your goals. Flexibility isn’t just about stretching your muscles but contracting them.
Besides improving your yoga practice overall, increasing your hip mobility is essential to get your middle splits and pancake. After working on passive stretching, you will discover that mobility training brings you closer to your flexibility goals.
Increasing hip mobility is beneficial for several reasons:
- Improved Range of Motion: The hips are major weight-bearing joints and play a crucial role in various movements, such as walking, running, squatting, and bending. Increasing hip mobility helps expand your range of motion, allowing you to move more freely and perform these activities more easily and efficiently.
- Injury Prevention: Limited hip mobility can lead to compensatory movements or imbalances in other areas of the body, such as the lower back, knees, or ankles. This can increase the risk of injuries, including strains, sprains, and overuse injuries. By improving hip mobility, you can distribute forces more evenly throughout your body, reducing the strain on other joints and decreasing the likelihood of injury.
- Posture and Alignment: Tight hips can contribute to poor posture and alignment, leading to discomfort and pain in the lower back, hips, and knees. Increasing hip mobility helps to correct imbalances, align the pelvis, and promote a more optimal posture, reducing the strain on the spine and promoting overall musculoskeletal health.
- Enhanced Athletic Performance: Athletes and individuals involved in sports or physical activities can benefit from increased hip mobility. It allows for better power transfer, agility, and stability during dynamic movements, such as jumping, sprinting, or changing directions. With improved hip mobility, athletes can optimize their performance, reduce the risk of injury, and move more efficiently.
- Daily Functional Movements: Good hip mobility is essential for everyday activities with ease. It allows you to squat, sit, walk, and climb stairs without discomfort or limitations. Increasing hip mobility allows you to maintain independence and perform daily tasks more efficiently and comfortably.
Want a strategic step-by-step formula to improve your flexibility and mobility?
Check out my Full-Body Flexibility Transformation Program:
How to Increase Hip Mobility
To increase hip mobility, you can incorporate the following strategies and exercises:
- Stretching Exercises:
- Hip Flexor Stretch: Kneel on one knee, with the other foot planted in front of you. Lean forward, maintaining an upright posture, until you feel a stretch in the front of the hip of the kneeling leg. Hold for 20-30 seconds and repeat on the other side.
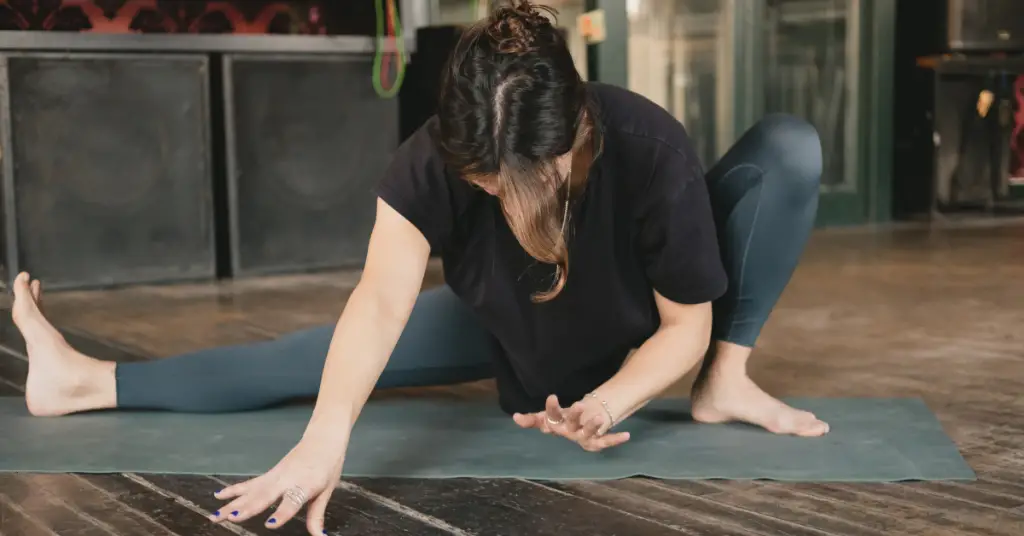
- Pigeon Pose: Begin in a high plank position, then bring one leg forward, placing the shin and thigh on the ground. Gently lower your hips toward the ground, feeling a stretch in the outer hip of the bent leg. Hold for 20-30 seconds and switch sides.
- Hip Mobility Drills: Try the exercises to increase hip mobility that you will find below.
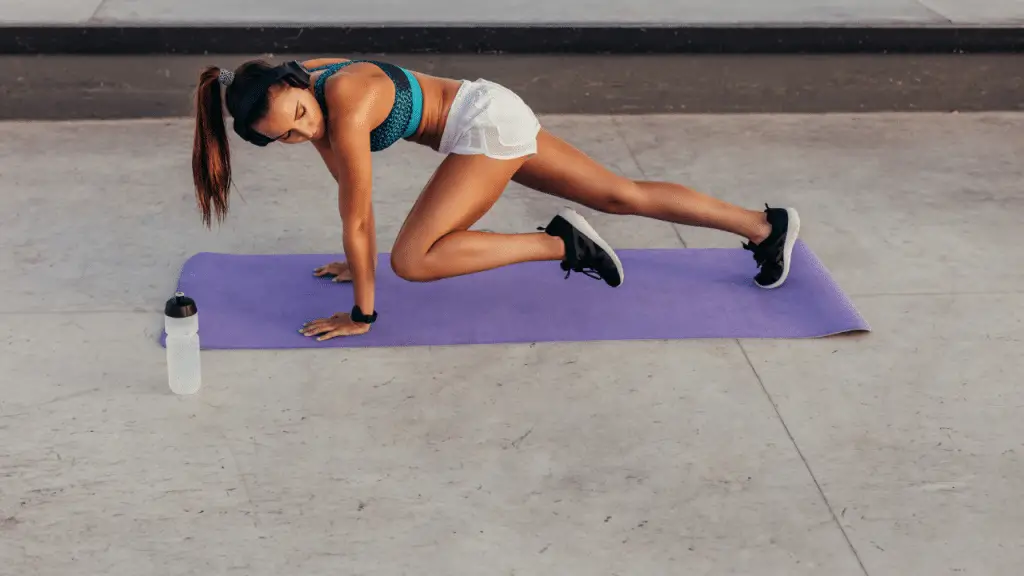
- Strength Training:
- Clamshells: Lie on your side with your knees bent and feet together. Keeping your feet touching, lift the top knee as high as possible without rotating your hips. Lower it back down. Repeat 10-15 times on each side.
- Squats: Stand with your feet shoulder-width apart. Lower yourself into a squat position, keeping your heels on the ground and your back straight. Return to the starting position. Start with bodyweight squats and gradually add weights as you become comfortable.
- You may also enjoy this Pistol Squat Progression to increase your lower body strength (don’t worry, you don’t need to be able to do the pistol squat, I can’t do it myself!).
- Yoga or Pilates:
- Practices such as yoga or Pilates often include poses and exercises that can help improve hip mobility. Look for classes or routines focusing on hip-opening postures and movements, such as lunges, pigeon pose, or seated forward bends.
Consistency is key when working on improving hip mobility. Aim to incorporate these exercises into your routine at least 2-3 times per week. Start with gentle movements and gradually increase the intensity or duration as your mobility improves. Needing help to get into a Yoga Habit? I created my 5-Day Yoga Habit Challenge for women who feel stiff and out of shape. They are looking for a way to get in shape that doesn’t require jumping around or lifting dumbbells AND that doesn’t require a big block of time.
How to Increase Hip Mobility for Beginners
I mentioned that when I started with mobility exercises as a stiff beginner, I found the drills too frustrating, so I stopped. If you are a stiff beginner who wants to learn how to increase your mobility, don’t despair! Focus on passive stretching and try this hip mobility test to determine your mobility level.
Test Your Hip Mobility
One common and straightforward hip mobility test is the Deep Squat Test. Remember that the deep squat also requires calf and ankle mobility, but it is helpful to gauge your hip mobility. Here’s how you can perform it:
- Stand with your feet shoulder-width apart and toes pointing forward.
- Lower yourself into a squat position to have your thighs parallel to the ground.
- Keep your heels flat on the floor and maintain an upright posture with your chest up.
- Try to maintain your balance and hold the squat position for a few seconds.
- Assess your hip mobility based on the following aspects:
- Depth: Can you achieve a parallel or lower position with your thighs?
- Heel Lift: Do your heels rise off the ground, or can you keep them flat?
- Upper Body Position: Can you maintain an upright posture without excessively leaning forward or rounding the back?
- Stability: Can you hold the squat position without losing balance or experiencing pain or discomfort?
If you struggle to perform the deep squat test with good form or encounter limitations in any of the aspects mentioned, perform these passive hip flexibility stretches and/or the beginner hip mobility drills coming next until you notice an improvement.
Hip Mobility Exercises for Beginners
Here are a few dynamic hip mobility exercises that are suitable for beginners:
- Hip Circles: Stand with your feet shoulder-width apart. Place your hands on your hips and gently rotate your hips in a circular motion, both clockwise and counterclockwise. Perform 10-15 circles in each direction to loosen up the hip joints.
- Seated Butterfly Stretch: Sit on the floor with your knees bent and the soles of your feet touching each other. Hold onto your ankles or feet and gently press your knees toward the ground. Hold the stretch for 20-30 seconds while maintaining an upright posture. Repeat 3-5 times.
- Supine Figure 4 Stretch: Lie on your back with your knees bent and feet flat on the floor. Cross your right ankle over your left knee, creating a figure 4 shape. Grasp behind your left thigh and gently pull your legs toward your chest until you feel a stretch in your right hip. Hold for 20-30 seconds and switch sides. Repeat 3-5 times on each side.
- Standing Hip Flexor Stretch: Stand with your feet hip-width apart. Take a step forward with your right foot, keeping your back straight. Bend your right knee and lower your left knee toward the ground, feeling a stretch in the front of your left hip. Hold for 20-30 seconds and switch sides. Repeat 3-5 times on each side.
- Standing Hip Abduction: Stand next to a wall or sturdy support for balance. Lift your right leg to the side, keeping it straight or slightly bent at the knee. Hold for a few seconds and then lower your leg back down. Repeat 10-15 times on each leg.
Remember to perform these exercises in a pain-free range of motion. Start with gentle movements and gradually increase the intensity or duration as your hip mobility improves. It’s important to listen to your body and not push beyond your comfortable limits. Remember, learning how to increase hip mobility for beginners also involves a lot of passive flexibility work.
You may also enjoy these lower-body mobility exercises.
Hip Mobility Exercises YouTube
Here’s a full-length YouTube routine with my latest favorite hip mobility exercises. When you work on a fitness goal (whether it’s strength, flexibility, or mobility), the key is to find the edge of your ability. If you find the exercises too hard, do fewer reps (even if you can only do two!).
This routine includes strength, mobility, and passive flexibility exercises for the best results.
In Summary
How to increase your hip mobility boils down to a combination of strength and flexibility exercises that target your inner and outer hips. It will come naturally as you increase your overall flexibility and stay consistent with your workout routines.