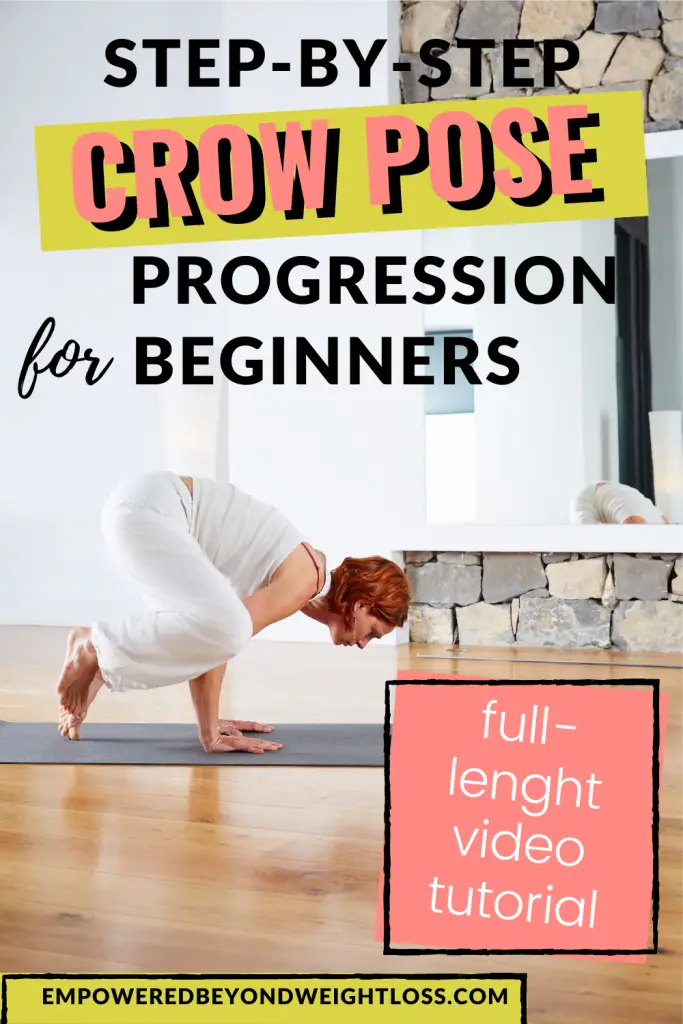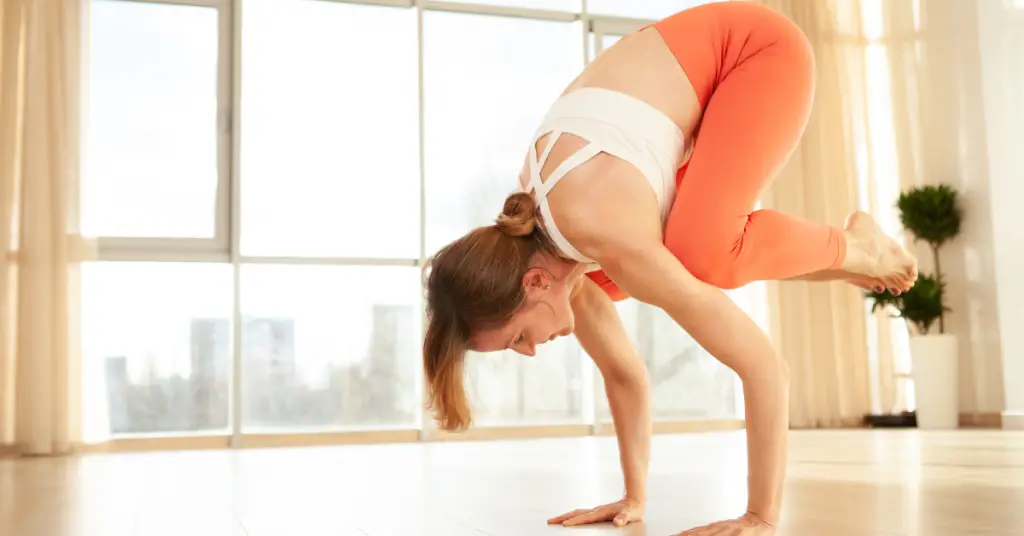
This crow pose, or Bakasana, progression for beginners is the perfect starting point if you want to experiment with arm balances but aren’t sure you can. Maybe you are scared to fall on your face and don’t know if you are strong enough. Let me put your fears at ease: You can do the crow pose! I know because I learned it when I was 43. I was a complete beginner and had the same worries as you do.
Step-By-Step Crow Pose Progression for Beginners
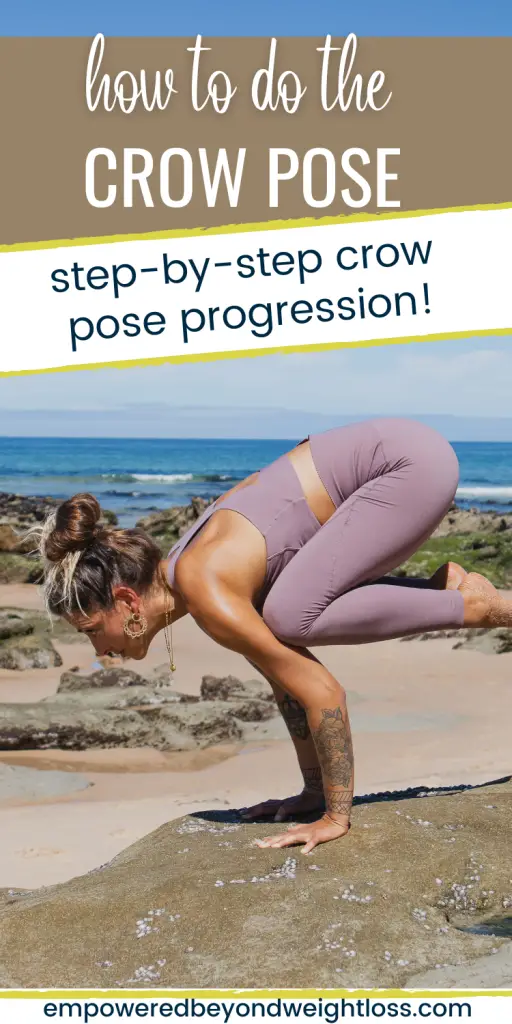
I will give you more info about the benefits of the crow pose, its variations, and common questions you might have about it, but for now, let’s jump right in! Let me give you the step-by-step crow pose progression that enabled me to get it after struggling to do it and falling on my face for a while.
Step 1: Practice Some Preparatory Yoga Poses
Practice the following poses:
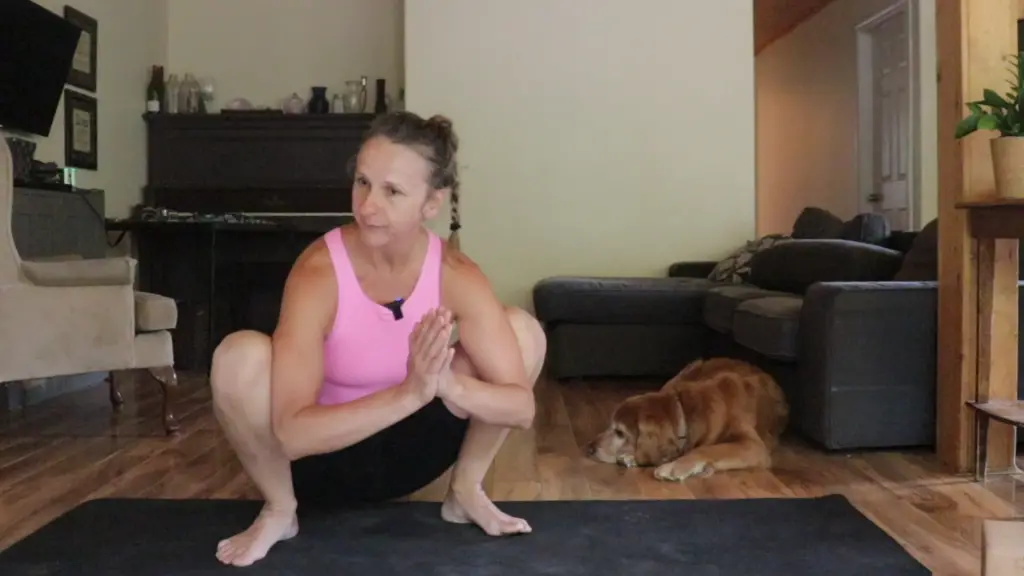
- Malasana (Yogi Squat): This pose helps open the hips and build leg strength. Squat down with your feet wider than hip-width apart and your hands in prayer position. Press your elbows against your inner thighs.
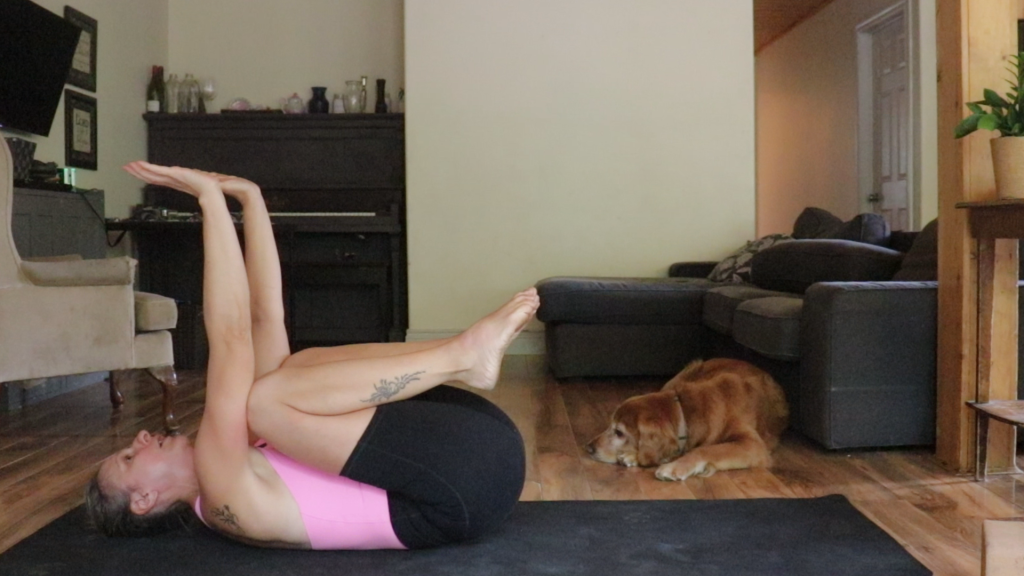
- Supine crow pose: Lie on your back and extend your arms as if you were pressing them on the floor. Bring your knees under your armpit and engage your core.
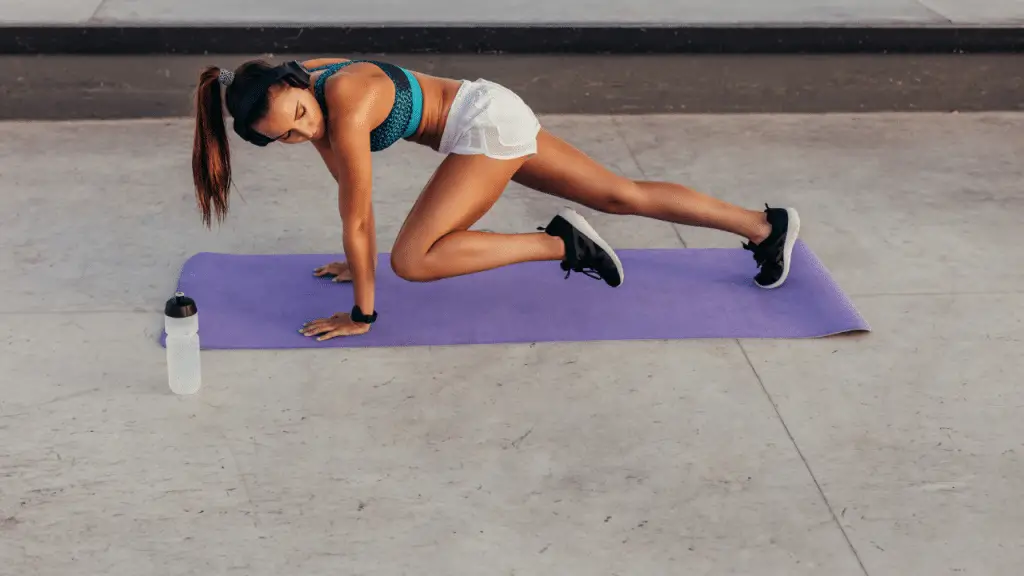
- Plank Pose: Strengthen your core and arms with plank pose. Keep your wrists aligned with your shoulders and engage your abdominal muscles. Bring one knee to your chest for turbo plank pose.
This step is not essential, but it may help.

To increase your hip flexibility try the following routines: Invigorating Chair Yoga for Hips: 5-Minute Hip Opening Routine, Skandasana Progression: Hip Opening for the Side Lunge, Yoga for Hip Strength and Flexibility (2 Video Routines), How to Increase Hip Mobility: Try These Drills!, 5 Efficient Stretches for the Middle Splits (With Proven Tips), and Inner Hip Opening Yoga to Release Your Tight Hips,
Step 2: Use Yoga Blocks
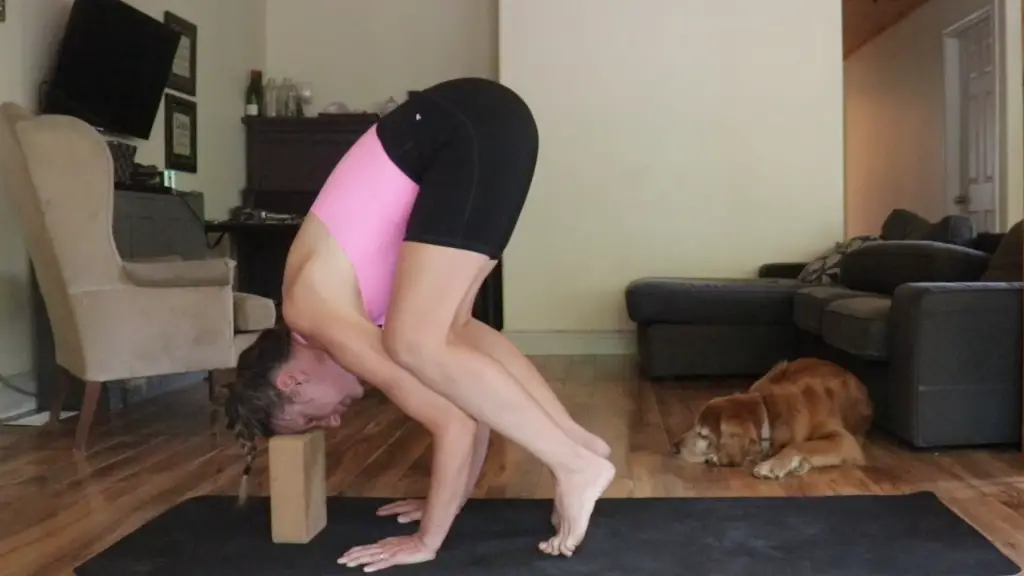
Teachers commonly encourage using yoga blocks under your feet to get started with crow pose. I recommend you place one under your forehead. Placing a yoga block where I could rest my face is something I wish I had learned sooner. It helps ease a lot of the fear factor.
Step 2: Try the Modified Crow Pose
Begin squatting with your feet about hip distance apart. Place your hands about shoulder-width apart, spreading your fingers wide. Ensure that your fingers are pointing forward and that they are active. Imagine you are sucking the energy up from the ground.
Lift your butt high; your feet are pretty close to your hands, almost in a forward fold position. Bring your knees as high up on your triceps as possible. Lean your torso forward, shifting your weight onto your hands.
Lift one foot off the ground at a time, engaging your core and using your toes to help balance. Lean forward enough to bring your elbows in line with your wrists. Gaze slightly forward. Round your upper back, and press the ground away.
Try lifting both feet simultaneously once you are comfortable with one foot off the ground. Gaze slightly forward, a few inches in front of your hands, to help with balance. Squeeze your inner thighs towards the midline.
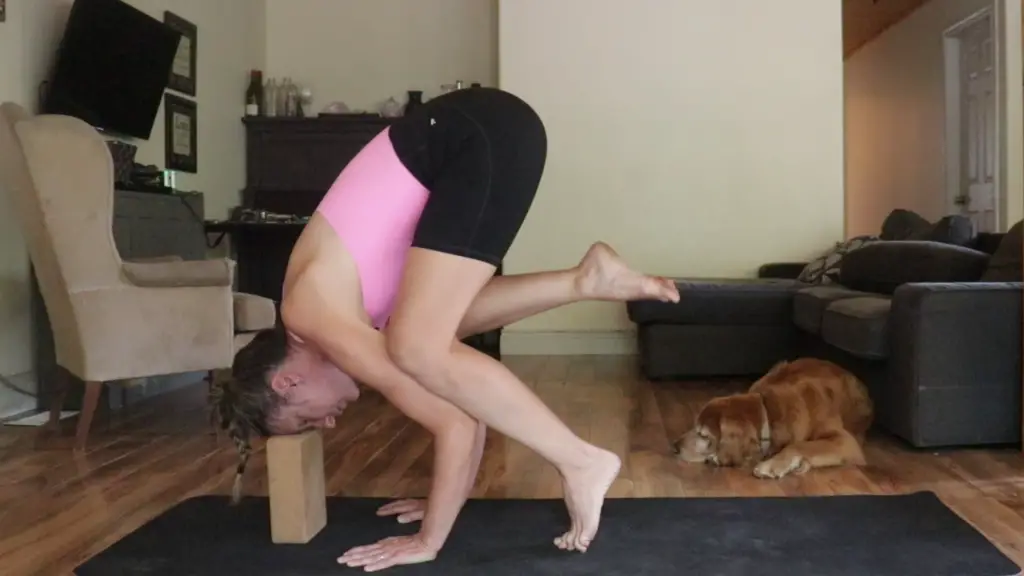
Step 3: Lift Your Face Off the Block
Beginners will often struggle with stacking their bodies properly. They don’t lean forward enough because they are afraid to fall on their faces. Remember, your elbows are in line with your writs. Imagine you are leaning your heart forward, gazing in front of you.
The block under your face will help ease the fear of falling on your face. Once you feel confident using the blocks, you can lift your face off the block and practice that way.
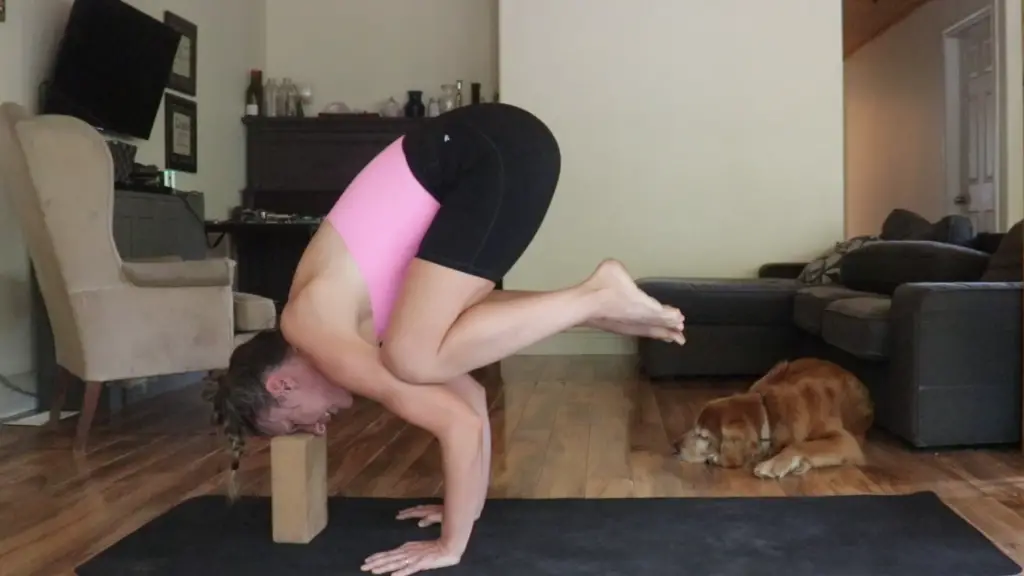
Step 4: Let Go of the Yoga Block
After practicing the crow pose with a yoga block and feeling confident that you can lift your face off the block with control, you are ready to let go of the block. Practice all the same cues I gave you already, without the yoga block: Keep your fingers active, round your upper back, bring your knees high on your triceps, lean forward as you gaze in front of you this time (no block).
Watch this video:
Step 5: Keep Working on Your Core and Arm Strength
Crow pose gets easier with practice. Furthermore, working on increasing your strenght will help. Try these routines: Full Body No Equipment Workout (No Jumping!), Best Yoga Core and Upper Body Workout at Home: Full 20-Minute Routine, and Crazy Effective Hip Flexor Strengthening Exercises.
Whenever you practice any skill, consistency is critical. You may enjoy my 5-Day Yoga Habit Challenge if you struggle with staying consistent.
Sign up here:
Common Crow Pose Mistakes
Crow pose, also known as Bakasana, is a challenging arm balance yoga pose requiring strength and balance. Beginners often make several common mistakes when attempting this pose. Here are some of them:
- Lack of Core Engagement: Crow pose requires a strong core. Beginners often forget to engage their core muscles, making lifting their feet off the ground and finding balance difficult. Focusing on pulling the belly button in toward the spine can help engage the core properly.
- Incorrect Hand Placement: Placing the hands too far apart or too close together can affect the stability of the pose. Hands should be shoulder-width apart or slightly wider, with fingers spread wide to create a stable foundation.
- Not Gazing Forward: Looking down at the ground can throw off your balance. Instead, focus your gaze slightly forward, a few inches ahead of your fingertips. This helps maintain balance and alignment.
- Not Leaning Forward Enough: In crow pose, your weight must shift forward so your knees can rest on your triceps. Beginners often keep their weight too far back, making it harder to lift their feet off the ground. Imagine that you are casting your heart forward as you lean forward.
- Not Hugging Elbows In: Your elbows should be hugging the sides of your body as you lean forward. Allowing them to flare out can make the pose less stable and more challenging to balance.
- Not Activating the Hands and Fingers: I find it helpful to imagine I am sucking the energy up from the earth through my fingers. This energy is moving up to my heart as I am engaging all my muscles.
- Not Engaging Leg Muscles: Crow pose requires strength in the leg muscles to lift the feet off the ground. Beginners may forget to engage their leg muscles, relying solely on their arms, leading to strain.
- Fear of Falling: Fear can prevent you from finding balance. Crow pose is an arm balance, and falling forward onto your hands can be intimidating. Using props like cushions or practicing near a wall can help build confidence.
- Rushing the Process: Crow pose is a challenging pose that requires practice. Beginners might rush into the pose without building the necessary strength and foundation. It’s important to start with preparatory poses and gradually work up to crow pose.
- Lack of Breath Awareness: Proper breathing can help you find stability and balance in the pose. Beginners sometimes forget to breathe or hold their breath, making it harder to find their center of gravity.
Remember that progress in yoga takes time and patience. It’s okay to struggle with crow pose at the beginning. Consistent practice, proper alignment, and listening to your body will help you overcome these common mistakes and gradually improve your crow pose.
Why Learn Crow Pose?
Crow pose is fun! It’s challenging, one of those poses that make yoga more interesting. For many, it’s a tool to overcome fear.
Doing Crow Pose (Bakasana) in yoga can offer numerous physical and mental benefits. This challenging arm balance posture is an excellent addition to your yoga practice for several reasons:
- Strengthens the Upper Body: Crow Pose requires strong arms, shoulders, and core muscles. Regular practice helps build strength in these areas, improving upper body strength.
- Improves Balance: Balancing your body on your hands in Crow Pose enhances your sense of balance and stability. This not only helps in yoga but also everyday activities.
- Enhances Concentration: Achieving and holding this pose demands focus and concentration. As you work on balancing, your mind becomes less cluttered, promoting mental clarity and awareness.
- Tones Abdominal Muscles: Crow Pose heavily engages your abdominal muscles. This helps strengthen your core, which is vital for maintaining good posture and spinal health.
- Boosts Confidence: Mastering challenging poses like Crow can boost your confidence and self-esteem. It’s a testament to your yoga progress and ability to overcome physical and mental barriers.
- Improves Flexibility: Bakasana requires wrists, hips, and groin flexibility. Practicing it regularly can help improve flexibility in these areas.
- Aids Digestion: Certain yoga poses, including Crow, can stimulate the abdominal organs, potentially aiding digestion and alleviating digestive issues.
- Calms the Mind: Balancing poses like Crow can have a calming effect on the mind. It forces you to stay present and focused, helping reduce stress and anxiety.
- Strengthens Wrists: Crow Pose can also strengthen the wrists, which is beneficial for those who spend a lot of time typing or using their wrists in repetitive motions.
- Promotes Patience and Persistence: Learning Crow Pose can be challenging and may take time to master. Practicing it teaches patience and persistence, valuable qualities both on and off the mat.
- Connects Body and Breath: To hold Crow Pose, you must synchronize your breath with your movements. This deepens your understanding of the mind-body connection in yoga.
- Fosters Mindfulness: Learning and practicing Crow Pose encourages mindfulness, helping you become more aware of your body and its capabilities.
Remember that yoga is a personal journey; not everyone may progress similarly. It’s essential to listen to your body and practice regularly.
Common Crow Pose Variations
Crow Pose (Bakasana) is a foundational arm balance in yoga, and there are several common variations and transitions that you can explore as you advance in your practice. These variations can help you build strength, balance, and flexibility while adding diversity to your yoga routine. Here are some common Crow Pose variations:
- Baby Crow Pose: This is a beginner-friendly variation where you keep your toes on the ground. It helps you build confidence and strength in the arms and core.
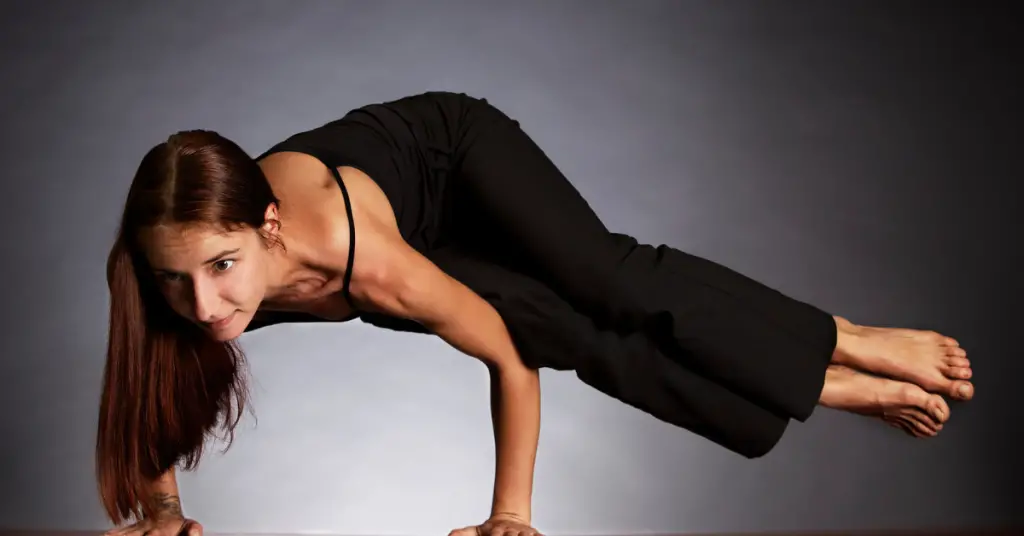
- Side Crow Pose (Parsva Bakasana): In this variation, you twist your torso to one side while balancing on your hands. It requires more core strength and balance.
- One-Legged Crow Pose: This variation involves lifting one leg off the ground while keeping the other foot grounded on the opposite thigh. It challenges your balance and core stability.
- Crane Pose (Crow Pose with Straight Arms): Instead of bending your arms, you keep them straight in this variation. It places more emphasis on arm strength and wrist flexibility.
- Eagle Arm Crow Pose: In this variation, you cross one arm over the other at the elbows, similar to Eagle Pose arms. This adds an extra layer of challenge to the balance.
- Crow to Headstand (Tripod Headstand): This transition involves lifting from Crow Pose into a Tripod Headstand. It requires advanced arm balance and inversion skills.
- Crow to Chaturanga: From Crow Pose, you transition into Chaturanga Dandasana (a low push-up position). This variation builds upper body and core strength.
- Floating Crow: In this variation, you jump back into Chaturanga from Crow Pose and then jump back into Crow Pose. It’s a dynamic and advanced variation.
- Flying Pigeon Pose: This pose combines Crow Pose with a hip-opening pigeon pose variation. You place one ankle on the opposite tricep while balancing in Crow.
- Advanced Crow Variations: Some advanced practitioners explore variations like One-Arm Crow, One-Arm One-Leg Crow, or Crow to Handstand. These require a high level of strength, balance, and control.
- Crow Pose with Props: You can use yoga blocks under your hands to raise the ground closer to you, making it easier to balance. This can be especially helpful for beginners.
Frequently Asked Crow Pose Questions
1. How do I build the strength for Crow Pose?
Answer: Building strength for Crow Pose involves practicing exercises that target the arms, shoulders, and core. Incorporate plank variations, push-ups, and forearm planks into your routine. Consistent practice and gradual progression are key.
2. What is the proper alignment for Crow Pose?
Answer: Proper alignment in Crow Pose includes planting your hands firmly on the mat with your fingers spread wide, bending your elbows slightly, and engaging your core to lift your hips. Gaze slightly forward to help with balance.
3. How do I overcome fear of falling on my face in Crow Pose?
Answer: Fear of falling is common. Start by placing a cushion or blanket in front of you for added safety. Focus on building strength and gradually progressing. Step one of my crow pose progression for beginners will really help ease some of the fear involved in learning the crow pose.
4. Can I practice Crow Pose with wrist pain or injuries?
Answer: If you have wrist issues, it’s essential to be cautious. You can try using yoga props or placing your hands on an elevated surface like yoga blocks to reduce wrist strain. Consult a healthcare professional if you have persistent wrist pain.
5. What should my breath be like in Crow Pose?
Answer: Inhale deeply to prepare, and as you exhale, engage your core muscles and lift your hips into the pose. Maintain steady, even breaths while balancing in Crow Pose to stay focused and calm.
6. Why does practicing Crow Pose hurt my triceps?
Answer: Practicing Crow Pose can put a strain on the triceps because they play a significant role in supporting your body weight in this pose. Ensure proper alignment and gradually build triceps strength to reduce discomfort.
7. Are there preparatory poses to help with Crow Pose?
Answer: Yes, poses like Plank, Chaturanga, and Dolphin Pose can help build the strength and alignment needed for Crow Pose. Incorporate these into your practice to prepare your body.
8. How long should I hold Crow Pose?
Answer: Initially, aim for short holds, perhaps 5-10 seconds, and gradually extend the duration as you build strength and confidence. The duration can vary depending on your practice level and comfort.
9. What if I have tight hips and groins? Can I still do Crow Pose?
Answer: Tight hips and groins can make Crow Pose more challenging but not impossible. Consistent practice and hip-opening stretches and poses can help improve flexibility over time.
10. How can I progress to advanced Crow Pose variations?
Answer: Mastering the basic Crow Pose is the first step. Once you are comfortable, work with an experienced instructor who can guide you through advanced variations like Side Crow, One-Arm Crow, or transitions to other poses like Chaturanga.
Remember to approach Crow Pose with patience and mindfulness. Yoga is a journey, and it’s okay to take your time and make modifications that suit your body’s needs and limitations.